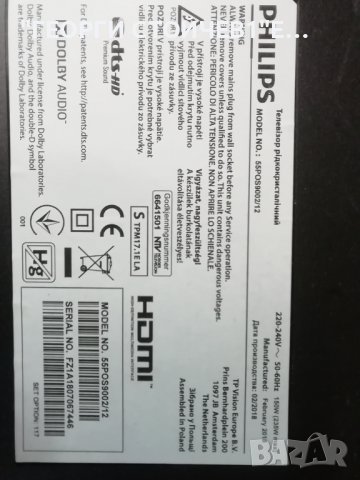
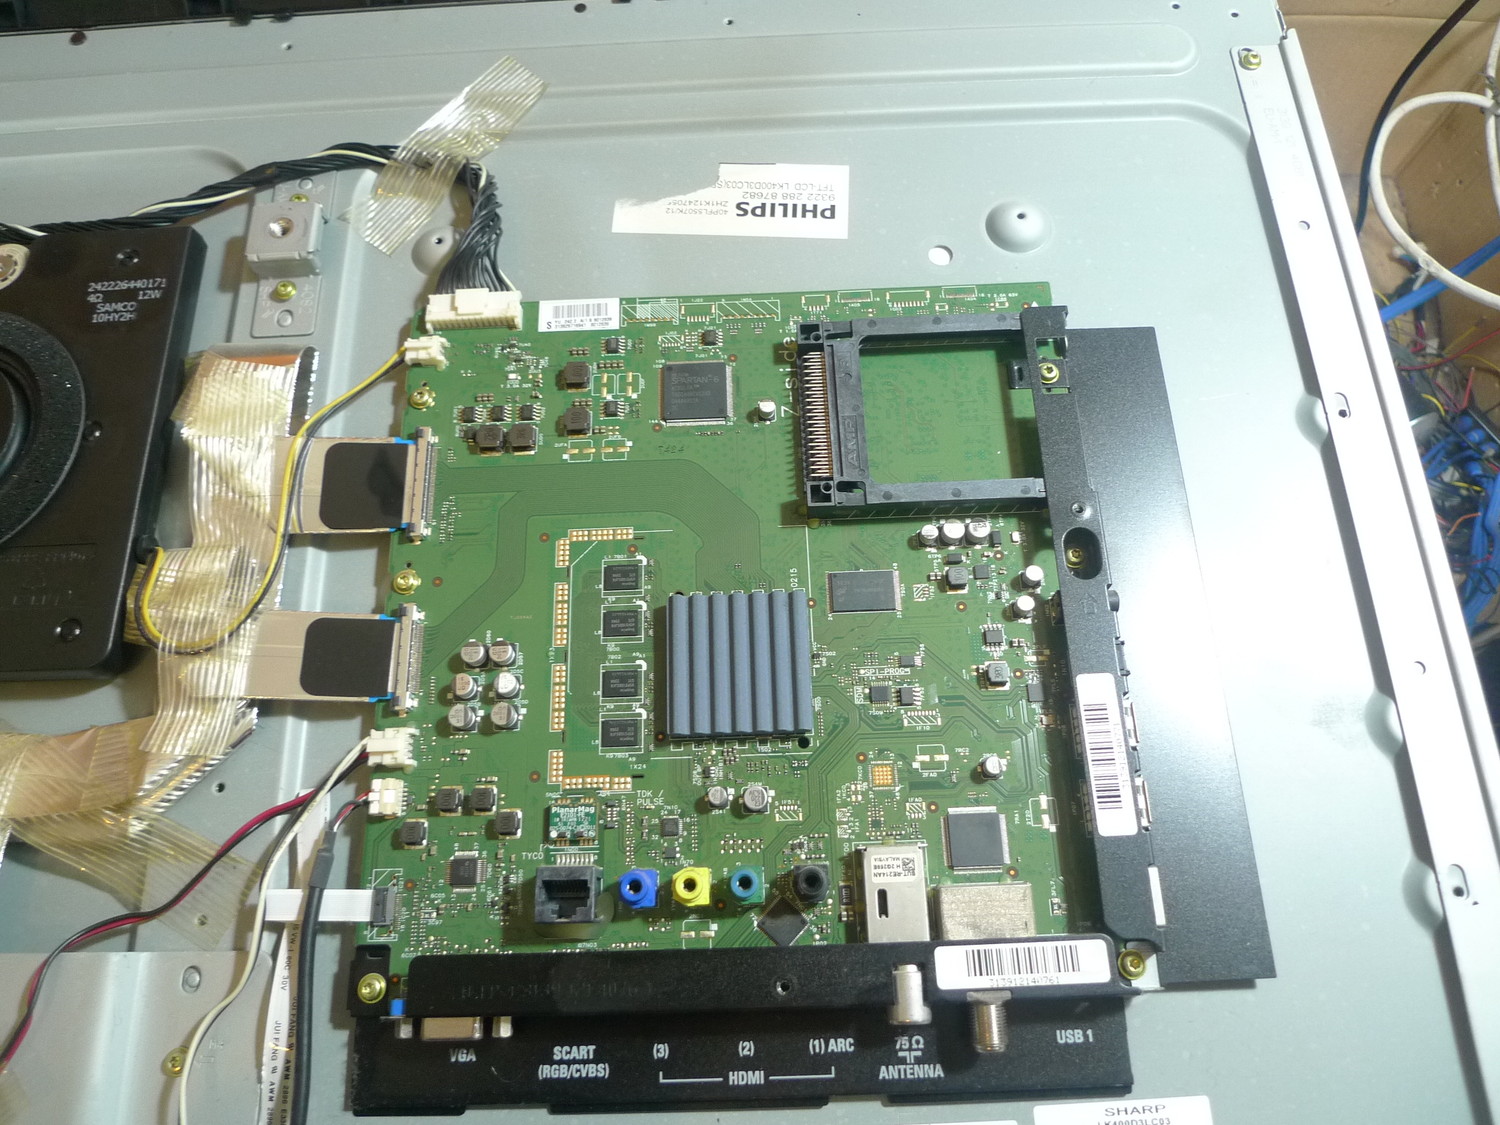
Файловете в архива са за случаите когато телевизора има проблем с изображението или е сменян мейнборд и е необходимо да се коригира кода на дисплея. Намирате BIN файла за вашия модел, преименувате го на NVM.eed, копира се на USB флаш памет форматирана във FAT32, поставя се в USB2 порта на телевизора и се включва захранващия кабел в мрежата. След като се ъпдейтва телевизора е възможно да се рестартира сам и след което си стартира. След това може да се премахне флаш паметта. В моят случай имах за ремонт OLED телевизор Philips 55POS9002/12, който след токов удар не се включваше, а единствено светодиода за стендбай започваше да мига бързо на две групи - 4 мигания последвани от 41. На флаш паметта копирах файла NVM.eed, NVM на който промених разширението на bin и архивиран в zip NVM.eed, защото бях сложил първоначално само NVM.eed и ъпдейта не тръгна. След ъпдейта телевизора си заработи нормално.
Файловете в архива са за Mainboard TPM17.1E LA и за случаите когато телевизора има проблем с изображението или е сменян мейнборд и е необходимо да се коригира кода на дисплея. Намирате в архива BIN файла за вашия модел, преименувате го на NVM.eed, копира се на USB флаш памет форматирана във FAT32, поставя се в USB2 порта на телевизора и се включва захранващия кабел в мрежата. След като се ъпдейтва телевизора е възможно да се рестартира сам и след което си стартира. След това може да се премахне флаш паметта. В моят случай имах за ремонт OLED телевизор Philips 55POS9002/12, който след токов удар не се включваше, а единствено светодиода за стендбай започваше да мига бързо на две групи - 4 мигания последвани от 41. На флаш паметта копирах файла NVM.eed, NVM на който промених разширението на bin и архивиран в zip NVM.eed, защото бях сложил първоначално само NVM.eed и ъпдейта не тръгна. След ъпдейта телевизора си заработи нормално.
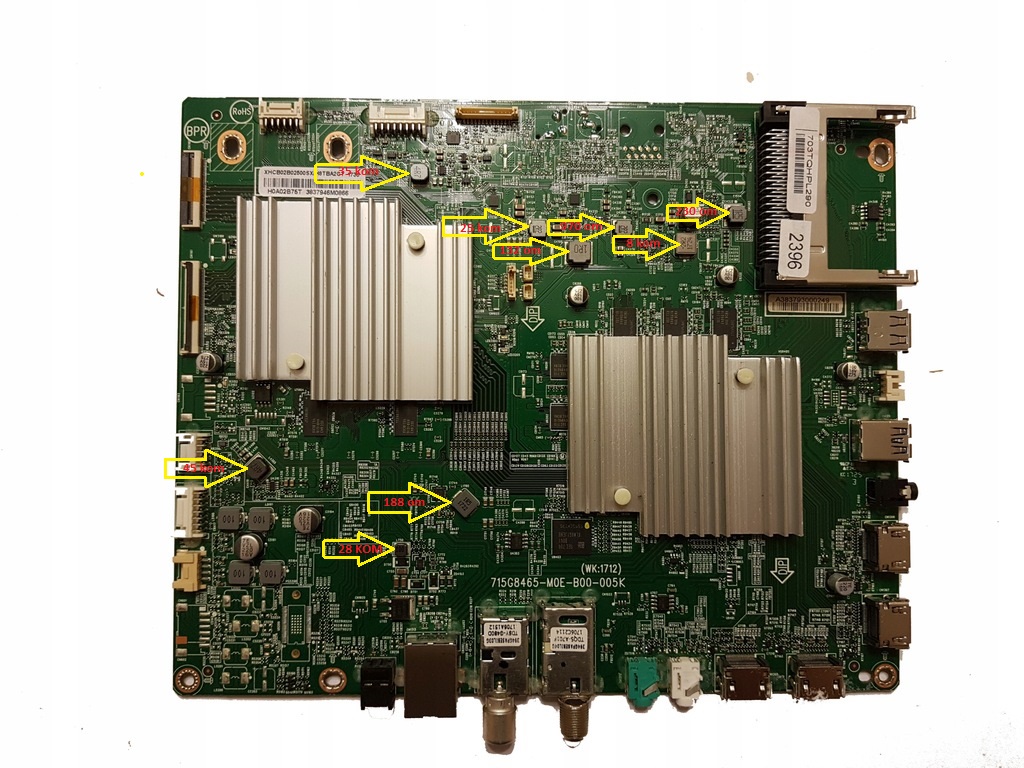
Прошивка считана лично с клиентского аппарата, который трудно запускался, с 5-го - 10-го раза, клиент дергал вилку из розетки. Запустившись - работал нормально до выключения. Прошивка записана в новую микросхему, все работает нормально, в т.ч родной пульт. Такой версии не нашел ни на этом сайте, ни на других, поэтому добавляю.
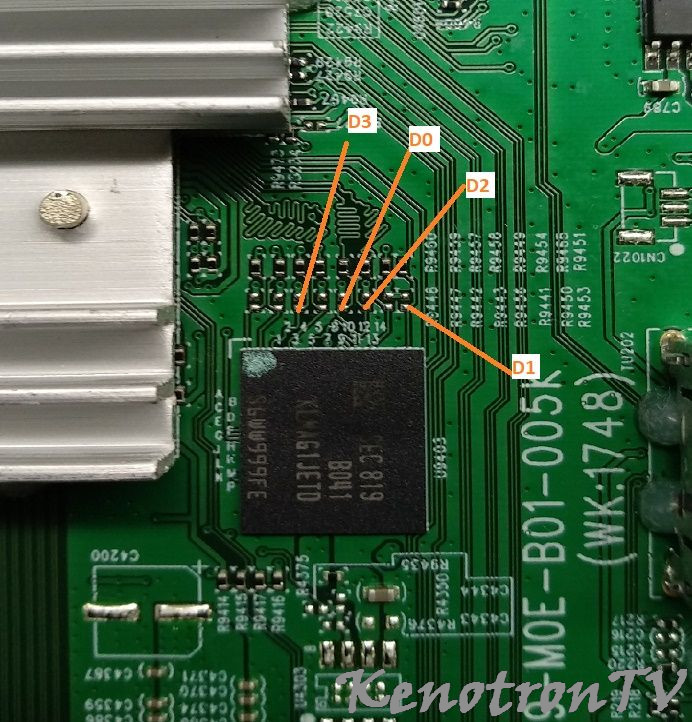
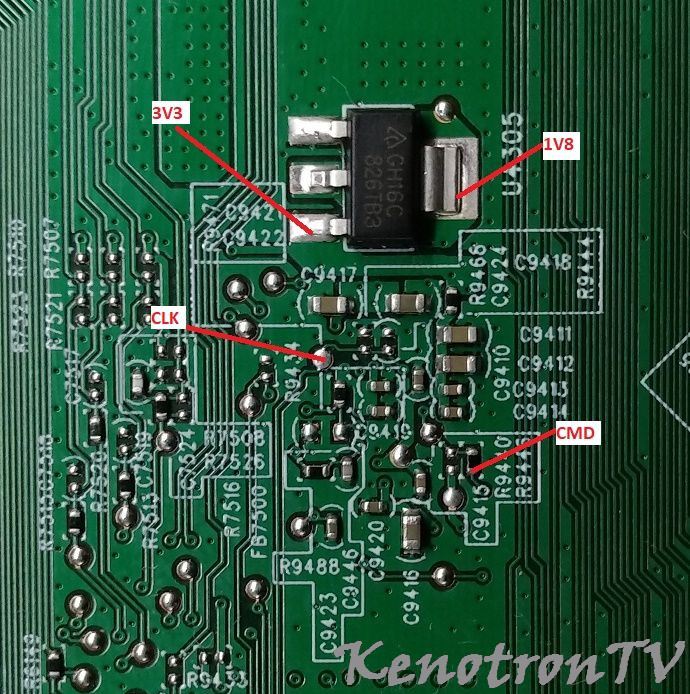
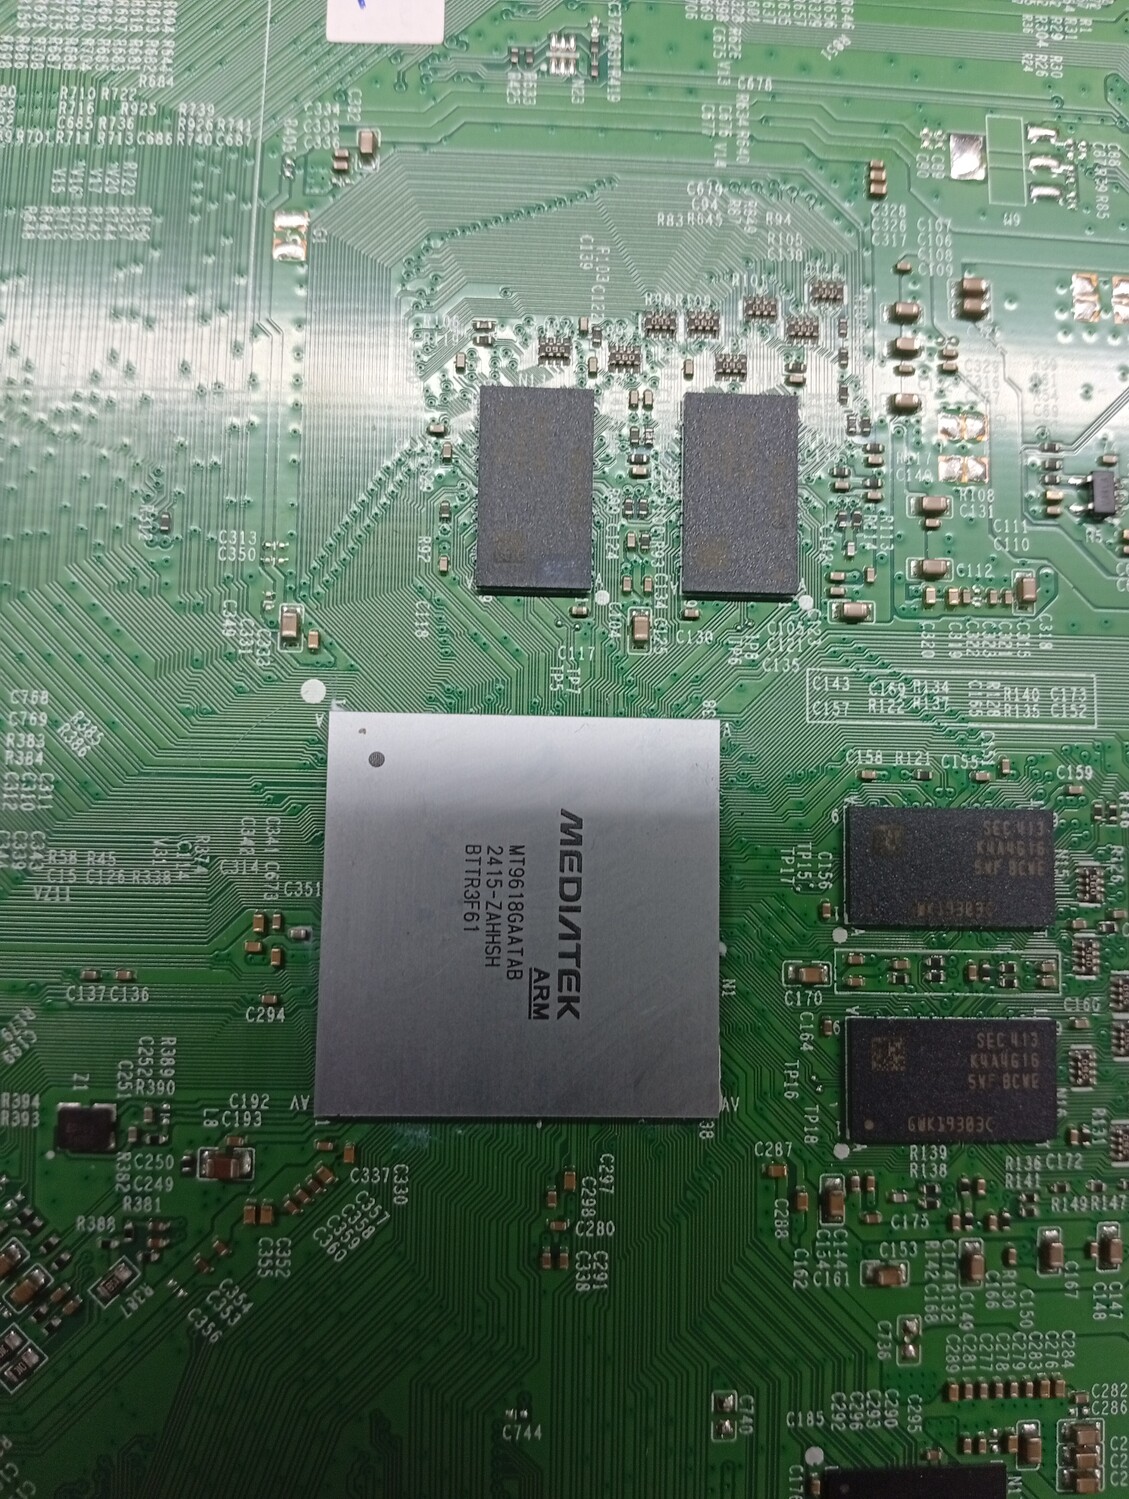
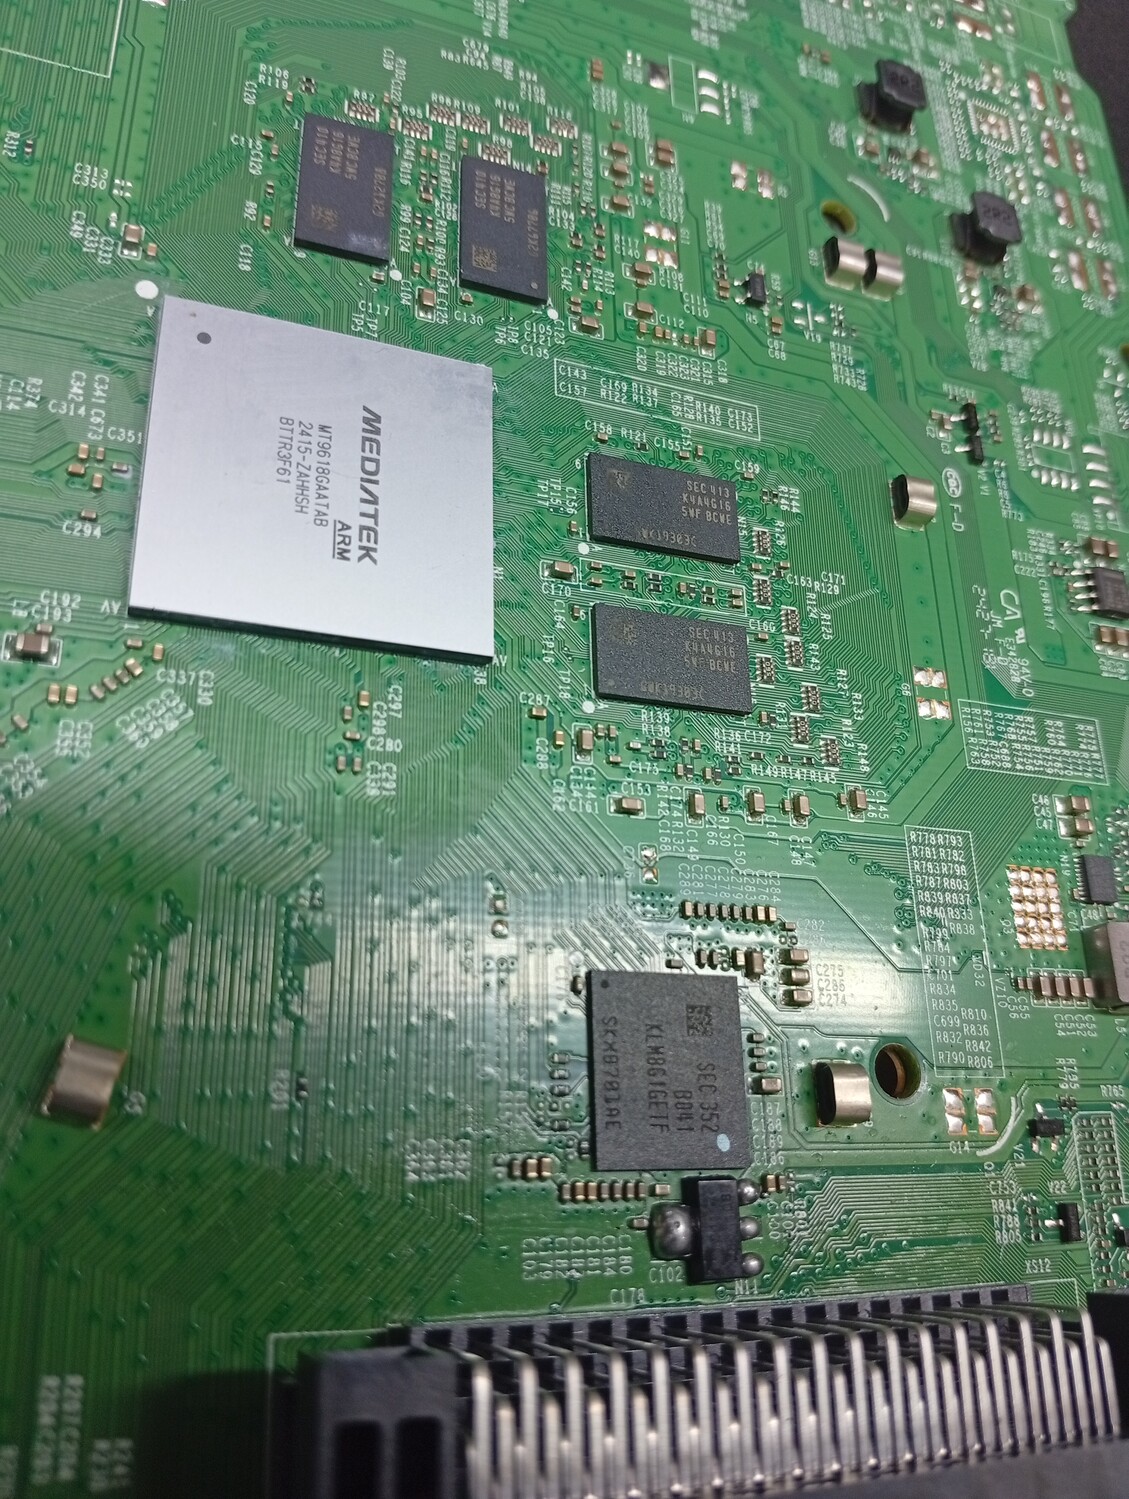
прошивка полностью рабочая под nand H27U4G8F2ETR-BI,брал прошивки от этой платформы, H27U4G8F2bTR-BI они чуть меньше размером заливал телек не стартовалв архиве лог и сам фаил прошивки,кто будет прошивать другим программатором то поменяйти расширение ntt на bin, да если моргает красным диодом на морде это подсветка
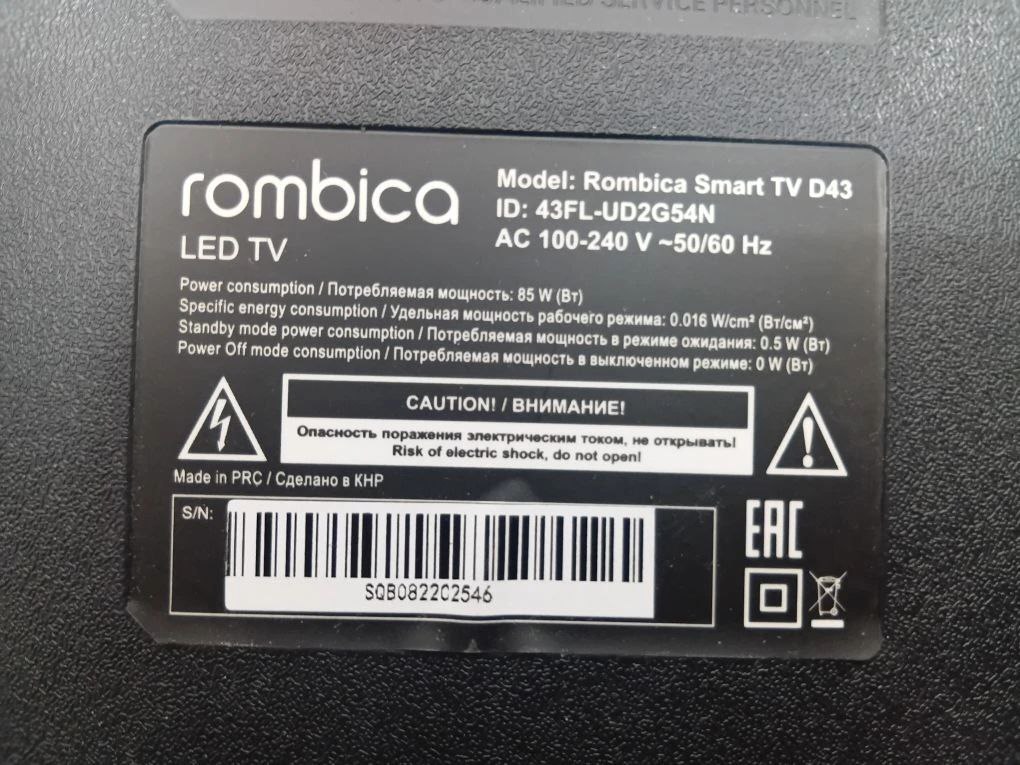
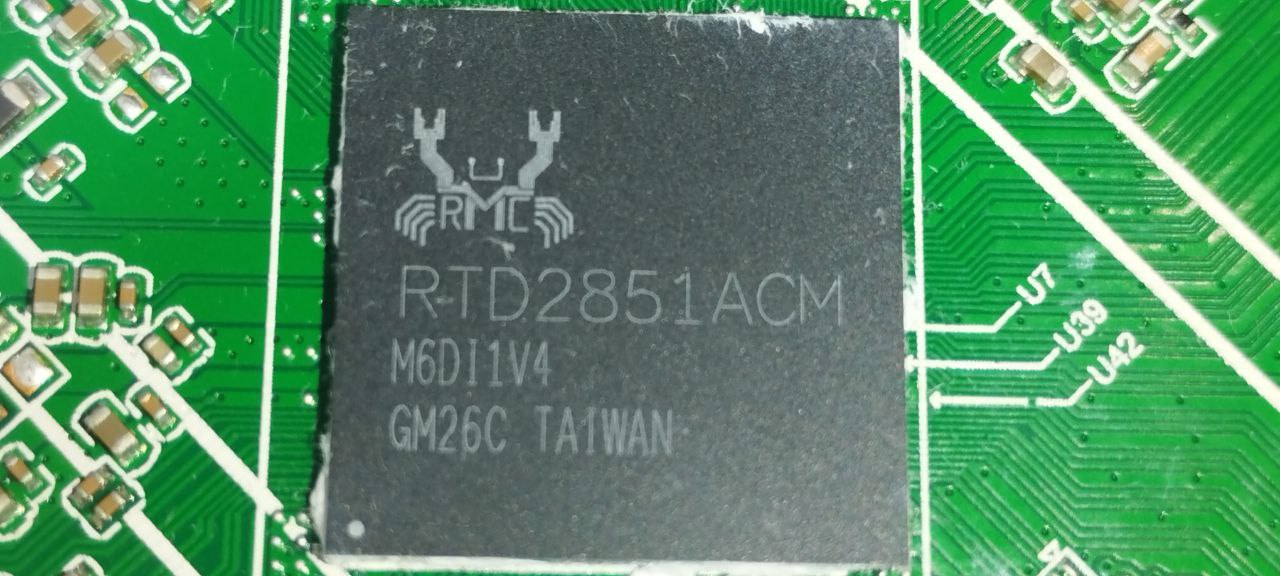
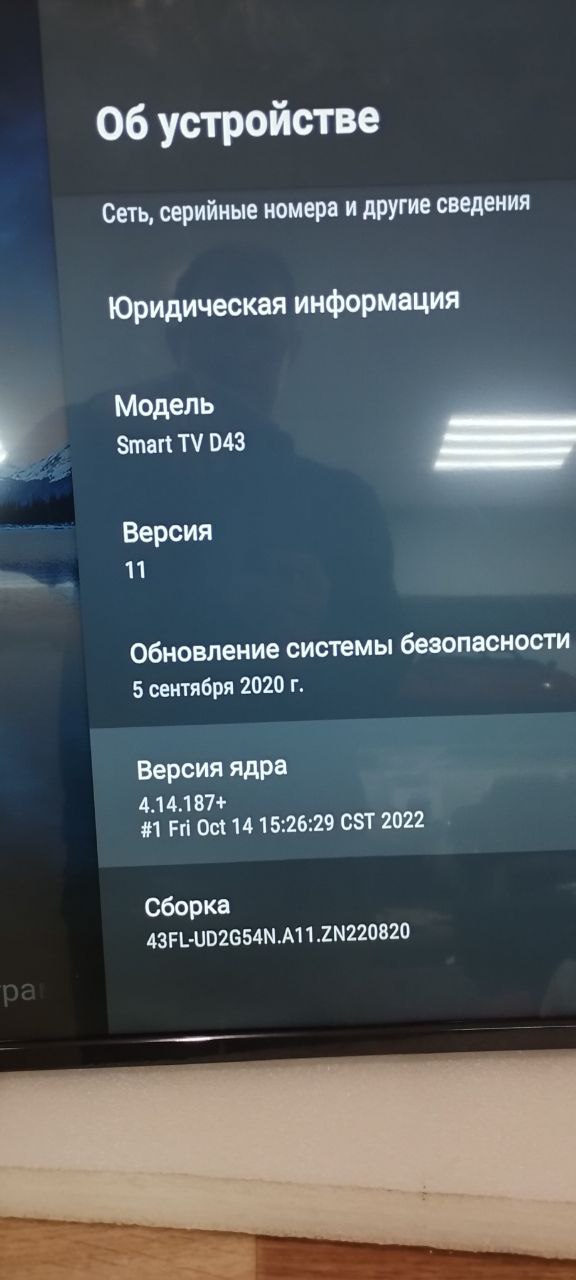
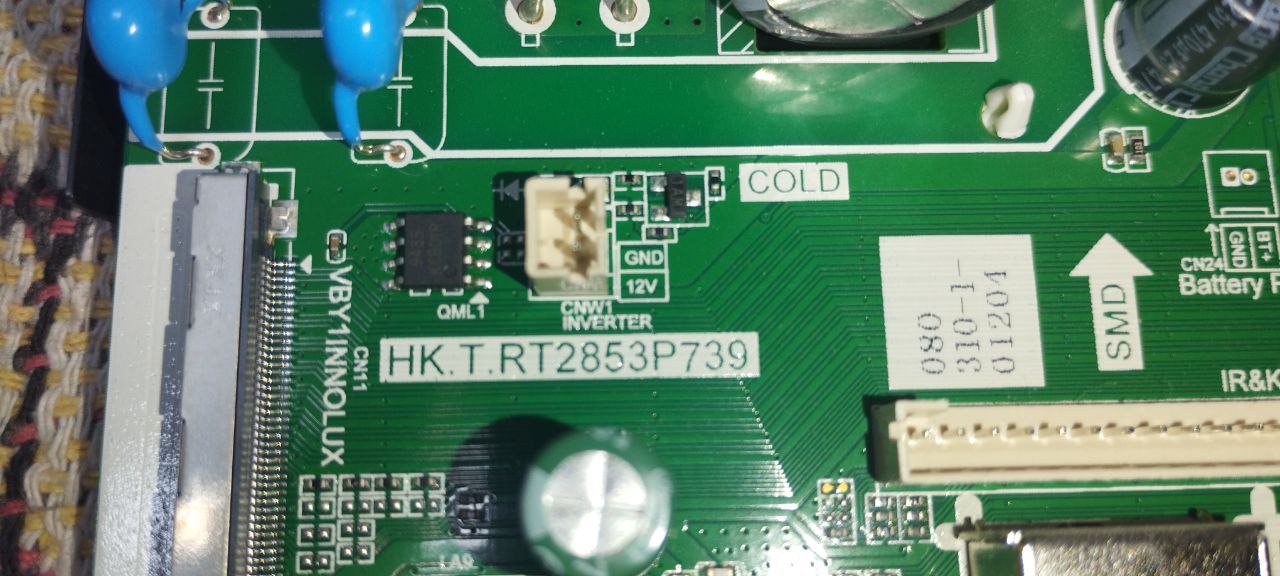
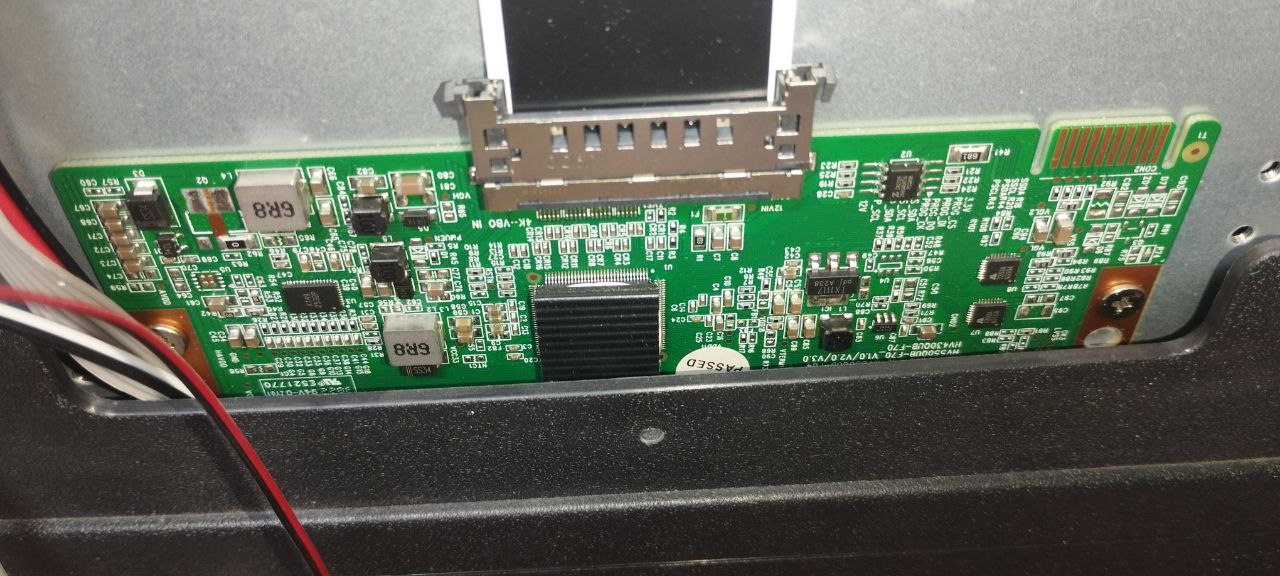
Прошивка под usb взята с официального сайта тех поддержки https://vk.com/im/convo/-81372085?entrypoint=community_page&tab=all При прошивке обязательно учитываем серийный номер телевизора. Шасси HK.T.RT2853P739 одинаковые, но разные матрицы. 1) HV430QUB-F1B (SN 1001-3000) идет под матрицу HV430QUB-F1B ( есть на этом сайте https://remont-aud.net/dump/lcd_pdp_tv/po_shassi/rombica_rombica_smart_tv_d43_id_43fl_ud2g54n_shassi_main_board_hk_t_rt2853p739/335-1-0-159645 2) HV430QUB-F70.F1K.F7D.F7A (SN 0001-1000) идет под матрицу HV430QUB-F70 эта прошивка версия андроид 11 , сборка 43FL-UD2G54N.A11.ZN2200820 ) эта которая залита мною Если залили не ту прошивку в кирпич не превратится, но будет двойное изображение. Также есть много вкусняшек - фото , ISP подключение, лог с рабочего тв , точки подключения UART. При прошивке просто вставьте usb и включите в розетку , процесс пойдет сам. Файл только один IMG.
Кому не помог мой предыдущий дамп ссылка, под панель HV430QUB-N1K, и вместо изображения матрица переключает цветные поля, выкладываю дамп вычитанный с рабочего аппарата под эту панель.

 Файлы
Файлы Прошивки
 Продажа
 Литература
 Статьи