Меню сайта
Наши базы
Форма входа
Найти прошивку
Искать у Нас
Помощник
Искать по всему сайту
Реклама
Найти DataSheet
Искать на Doc.chipfind
Искать на Alldatasheet
На Datasheetarchive
Поиск в PDF по G o o g l e
Опознать SMD
SMD codebook Сахара
Сейчас на сайте
Онлайн всего: 394
Гостей: 347
Пользователей: 47
iwdutov , GoService70 , viktoranatolievich , forumrussoremont , tangol , serdgy , zpet , AZagorskij , gpi45437 , papaf , sergroza , vuk953 , Andru-Ha , JBLss , persovod65 , LIBRUMIUM , BUBLIK , remont71 , mastelv , vadim750 , shubin7356 , Fordzon , eroshkov , Wand3r , vovich60 , технал8888 , igorexakr , 1001 , PAVEL0572 , Igor64f , mir613 , Staratel10 , Savik , Rorschach , PloteHD1 , romonoff , AleXX78 , CYB , KAA , 77740641557 , киловльт , Алекс12345s , ivan3011 , kornevucoz , traveler , battlehedgehog , zzTOP21
Top 20 Uploaders
Партнёры проекта
Приветствую Вас, Гость · RSS
15.07.2026, 06:49:22
Сортировать файлы в разделе LCD/PDP TV по
Дате ·
Названию ·
Рейтингу ·
Комментариям ·
Загрузкам ·
Просмотрам Страницы: « 1 2 3 4 5 ... 1406 1407 »
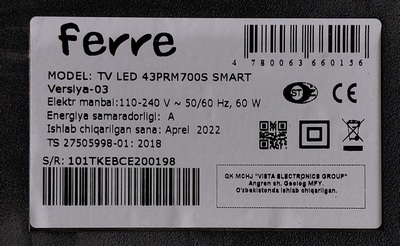
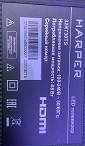
HISENSE 55U7KQ
1
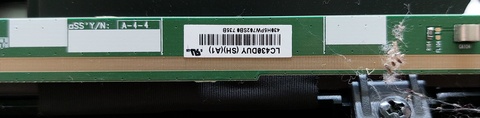
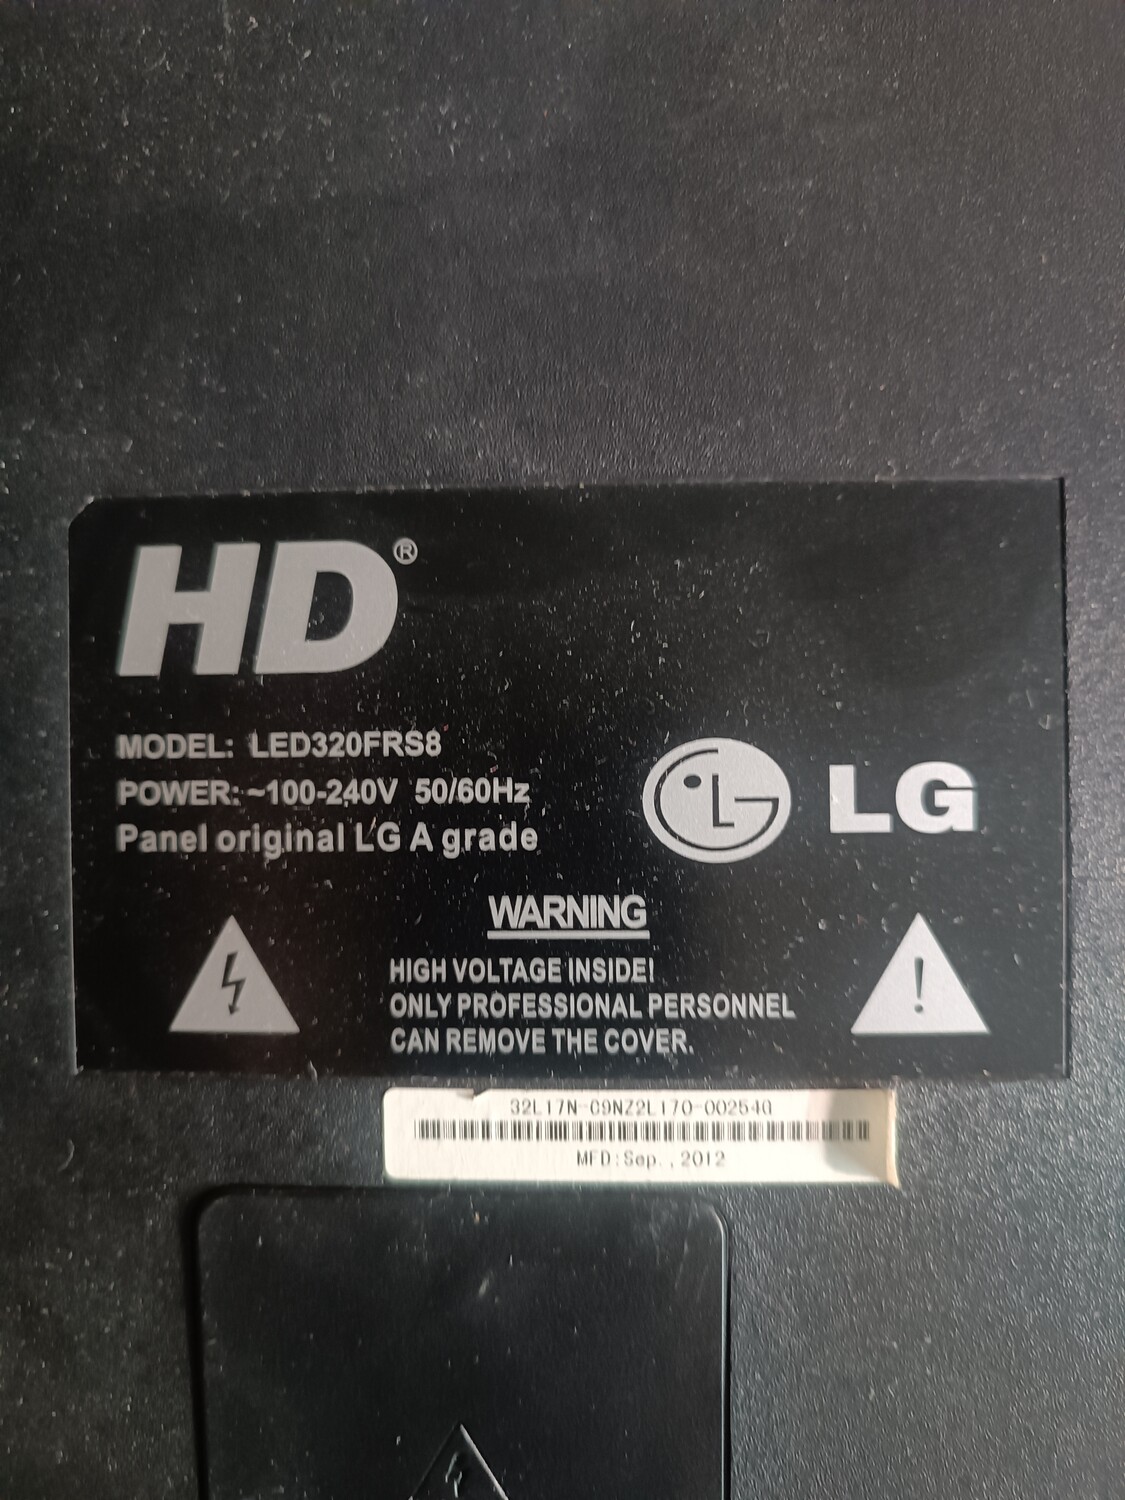
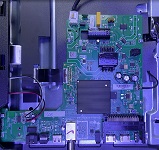
main 17MB170 , panel VES650QNTB-2D-N41 , tcon BOE HV650QUB-F90/N90
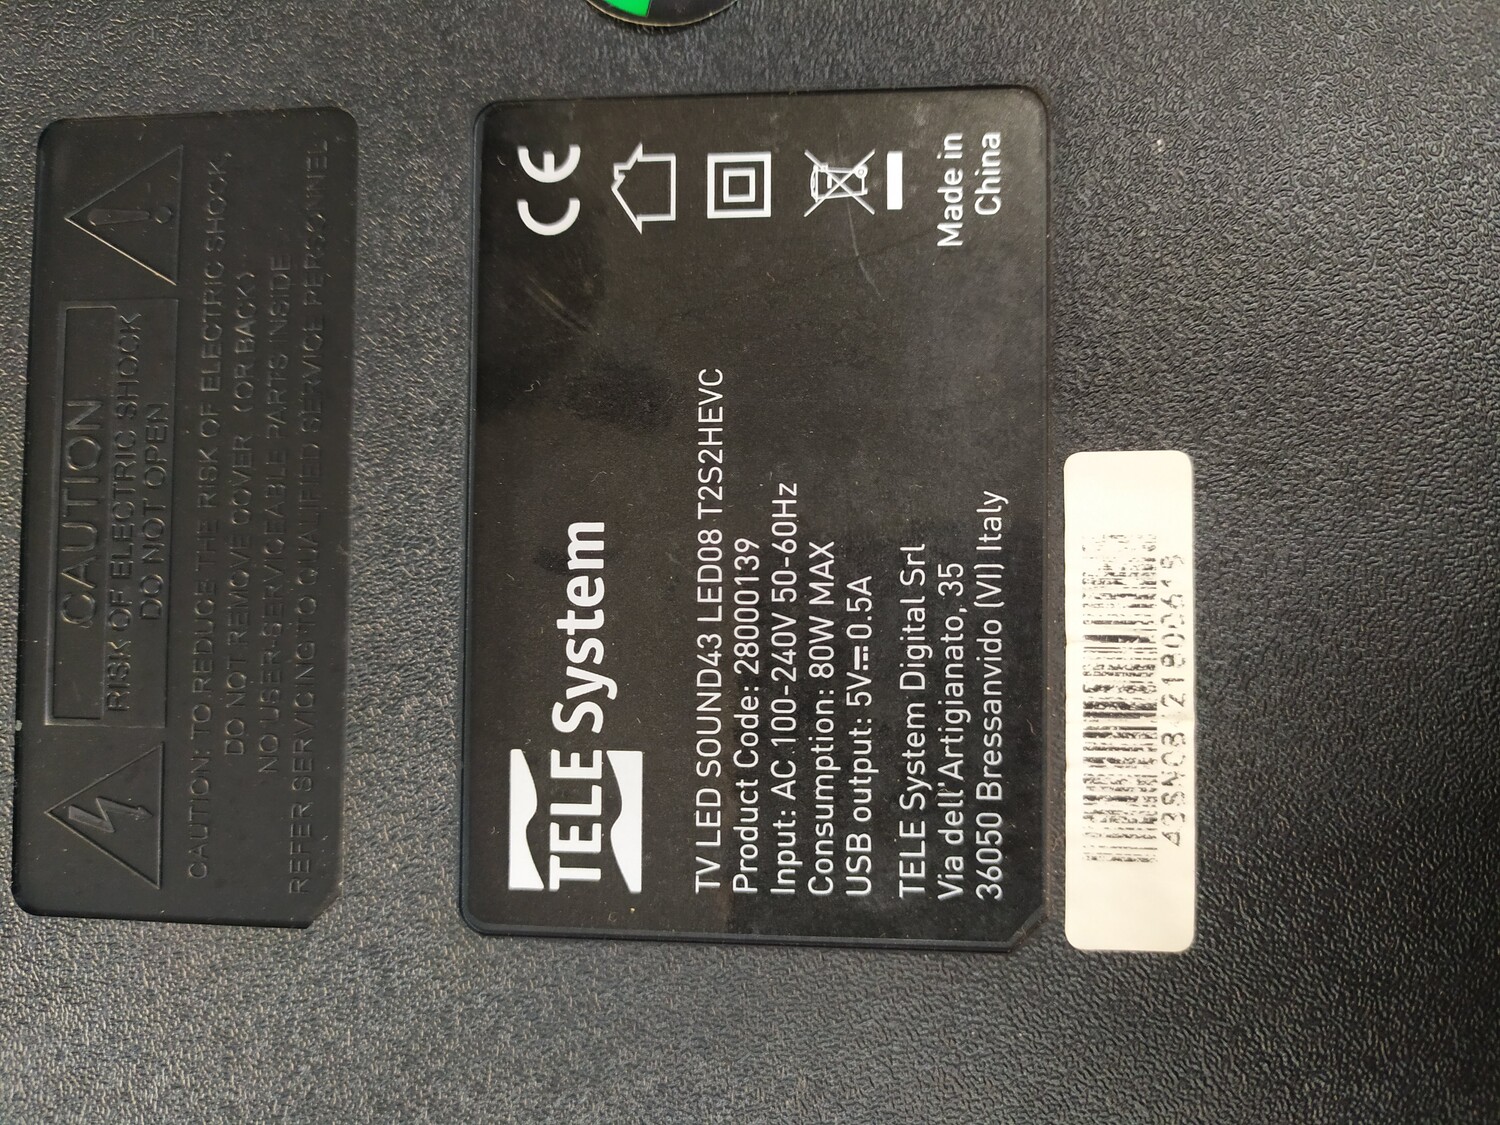
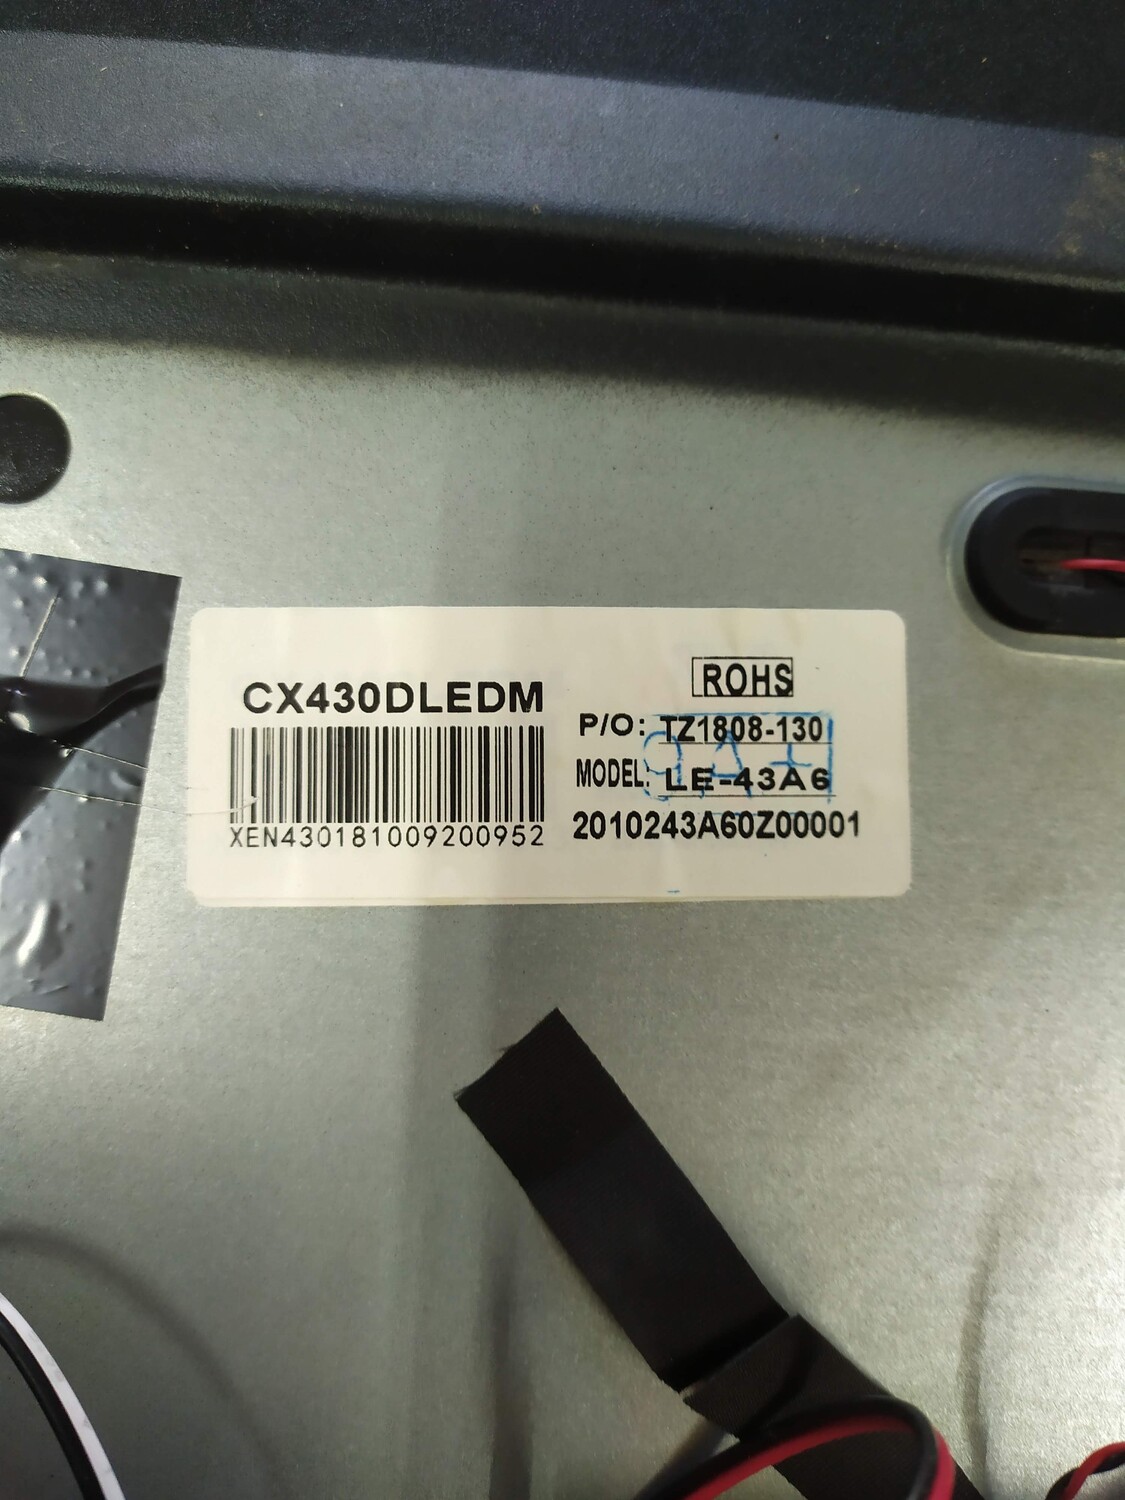
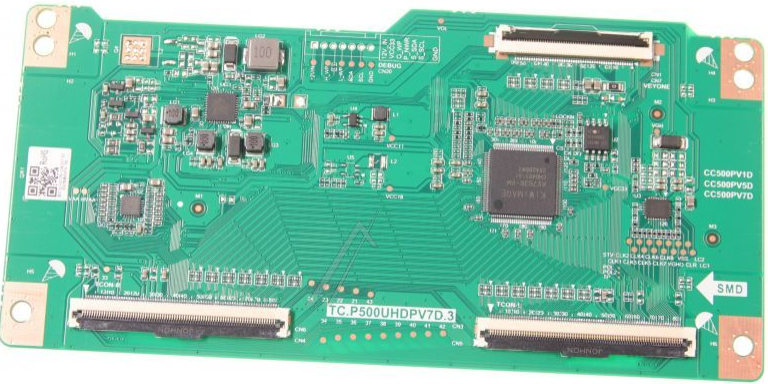
model TOSHIBA 58UA2063DG , product code 10126987 17MB170 , panel VES580QNDP-2D-N45 , tcon TC.P500UHDPV7D.3 JVC LT-58VAI615K , product code 10135555
1
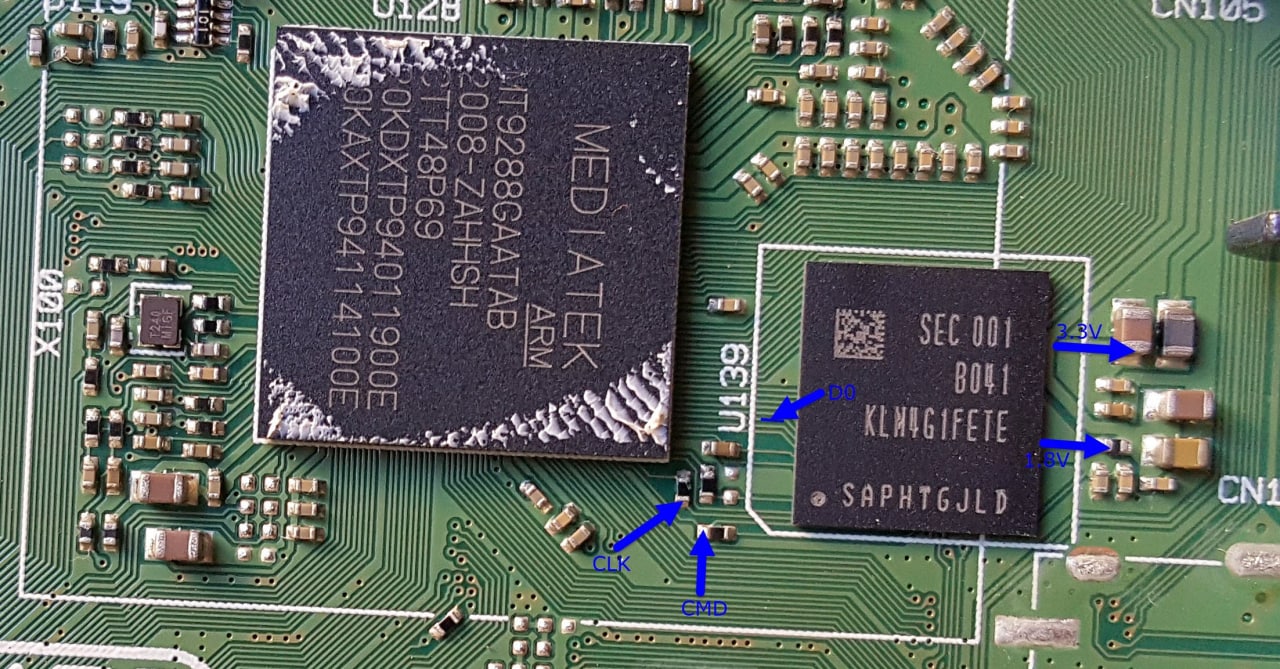
Память (XM25QH32B)
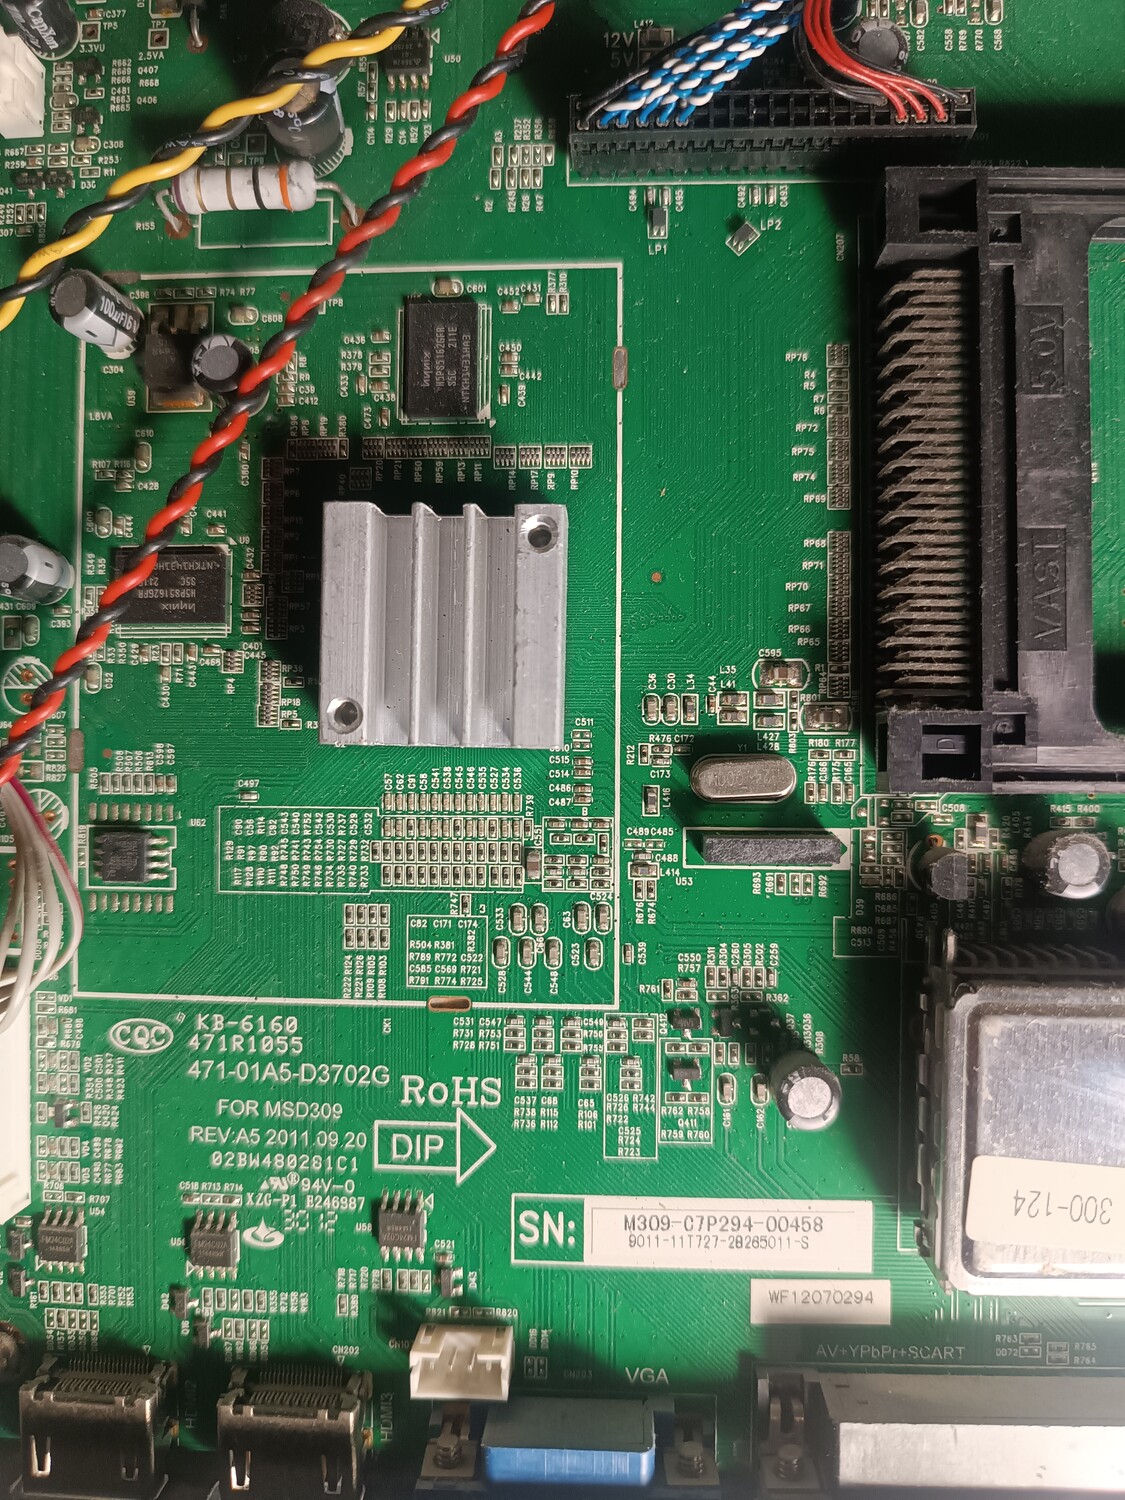
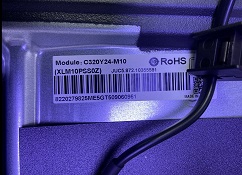
model 40BN5EA , ref 4T-C40BN5EF2AB , product code A40UK7554EB77I TP.MS6886.PC710 , panel JE400R3HA4LX
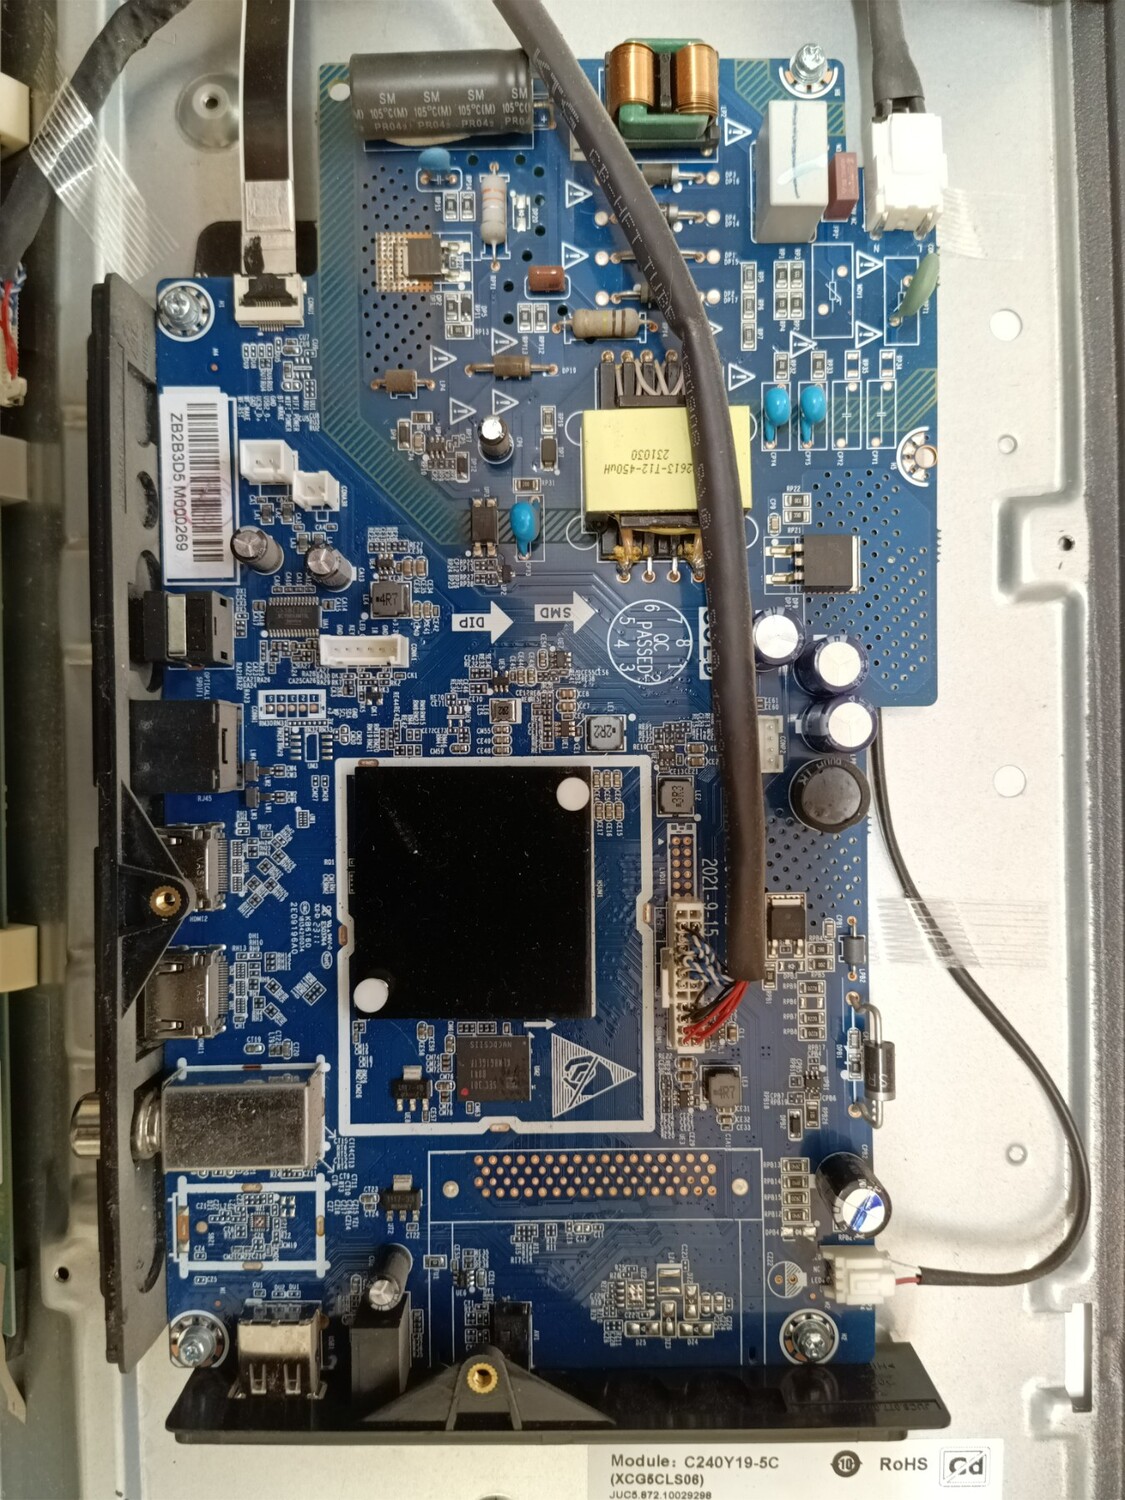
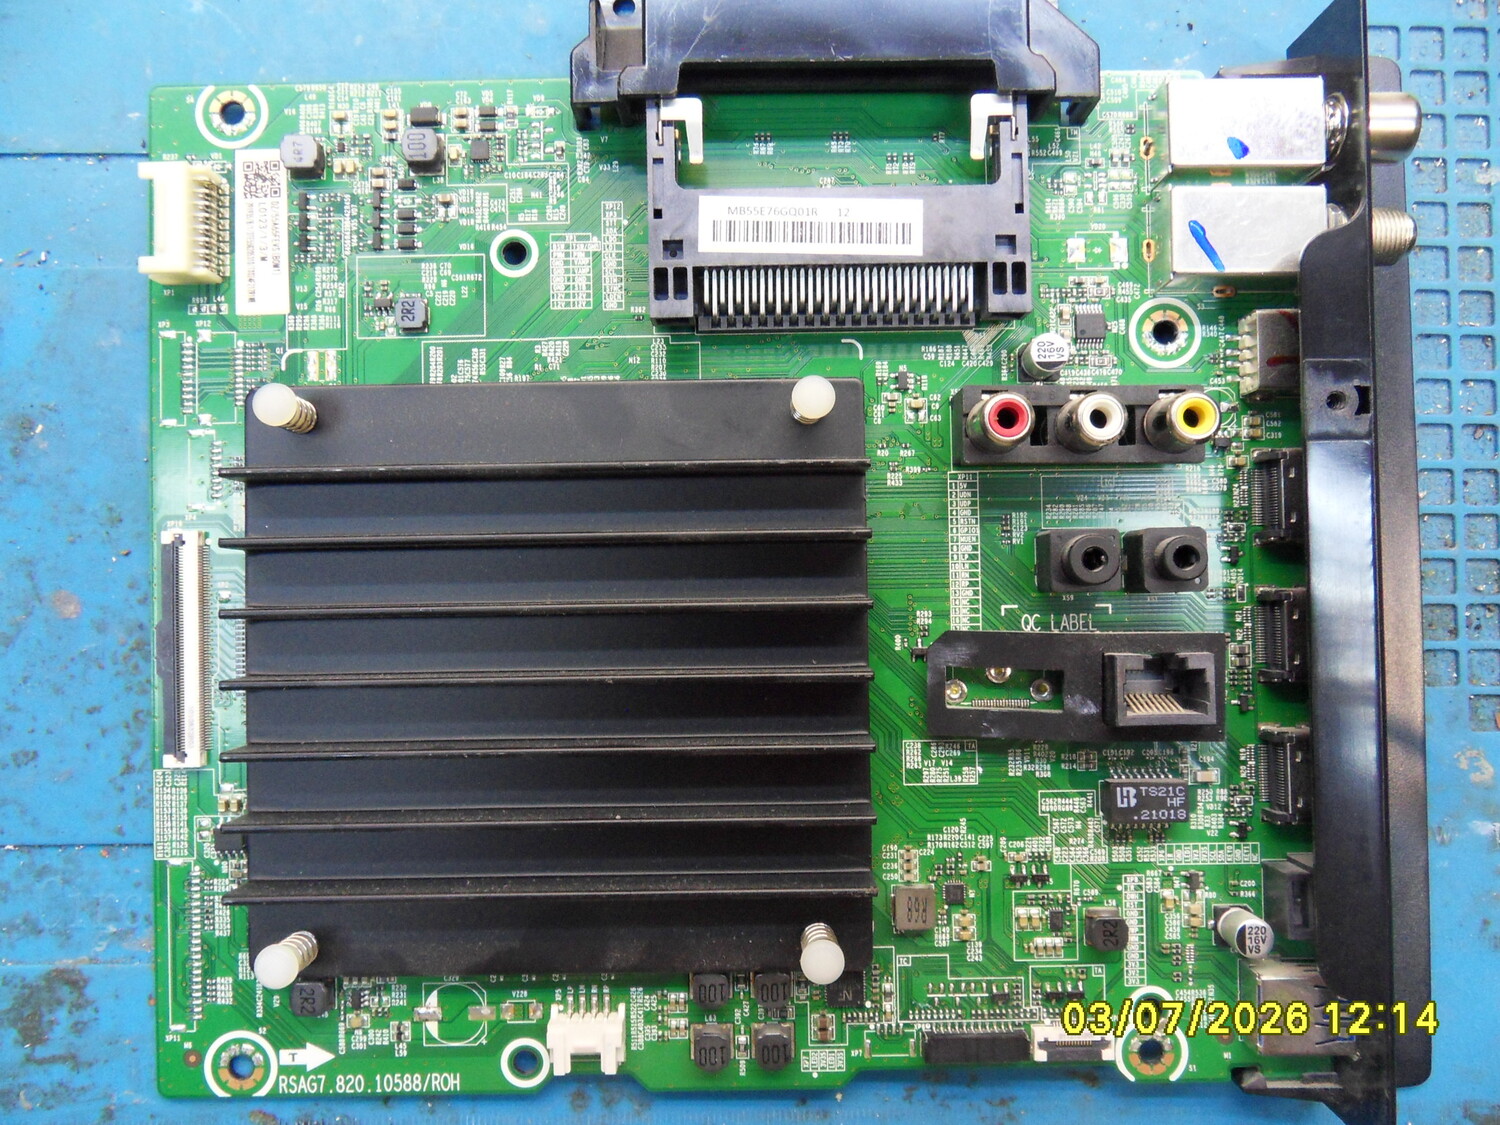
HISENSE 55E76GQ
1
Считана с рабочего аппарата.
Восстановил ПО данной прошивкой.
1
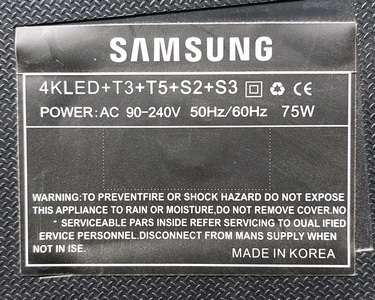
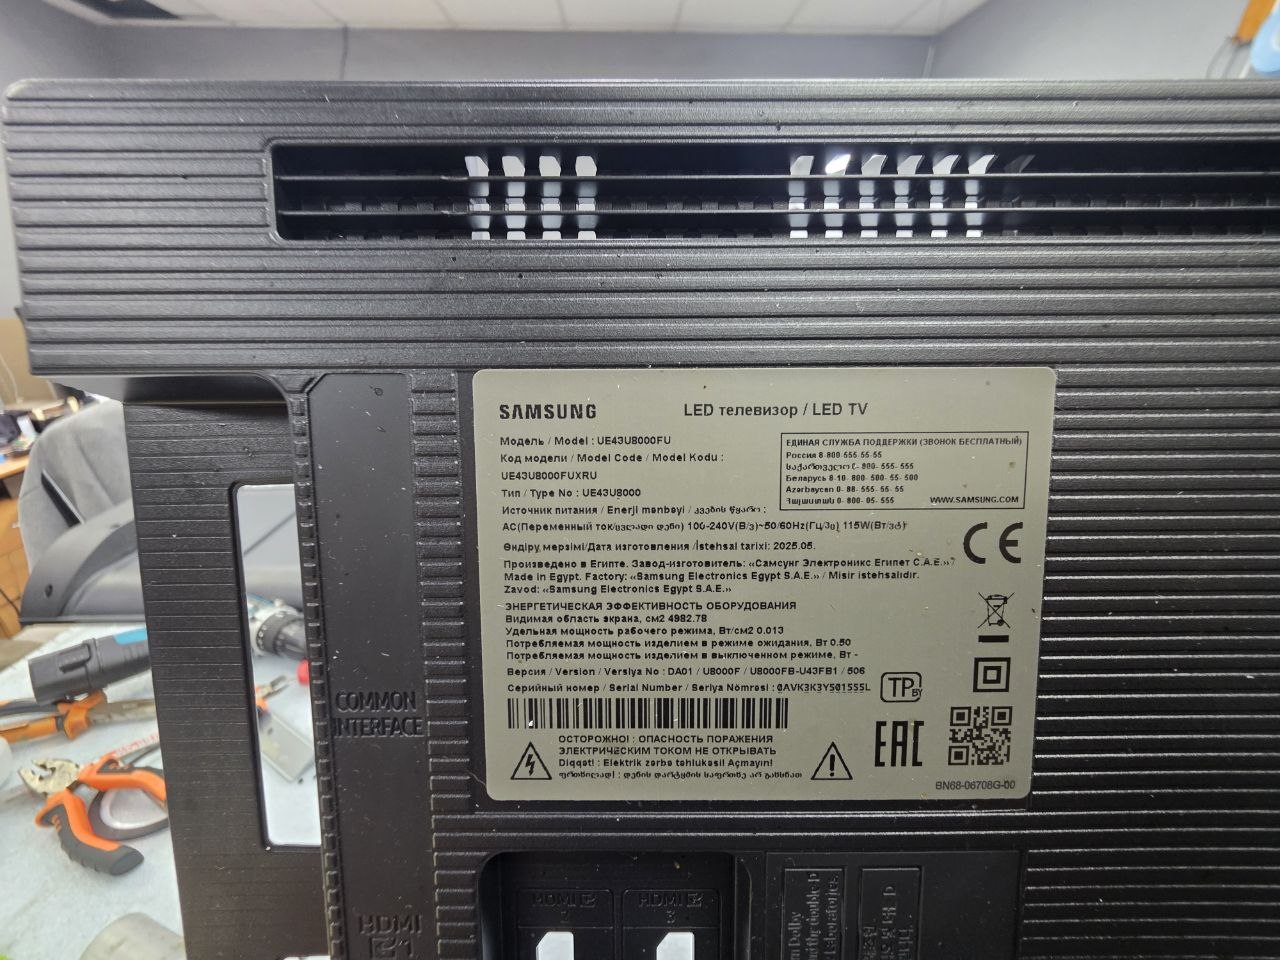
Archivo de memoria original Tv Samsugn UE50TU8005K.BIN VOLTAJE VGH y VGL MODIFICADO
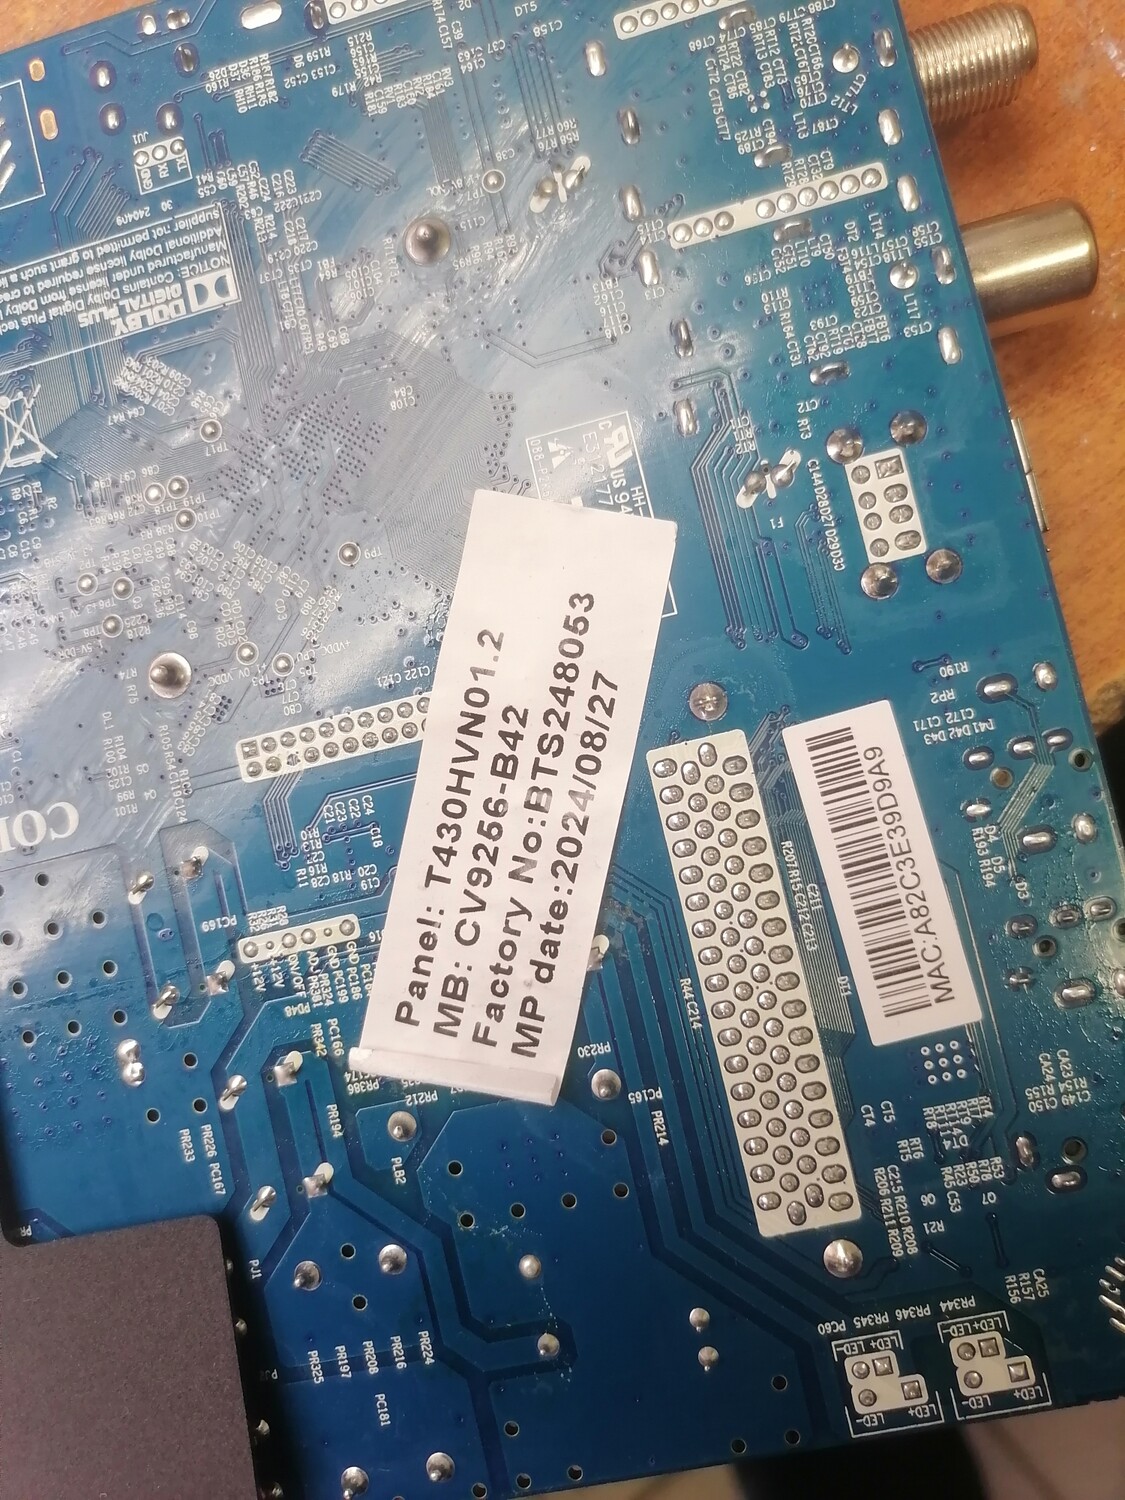
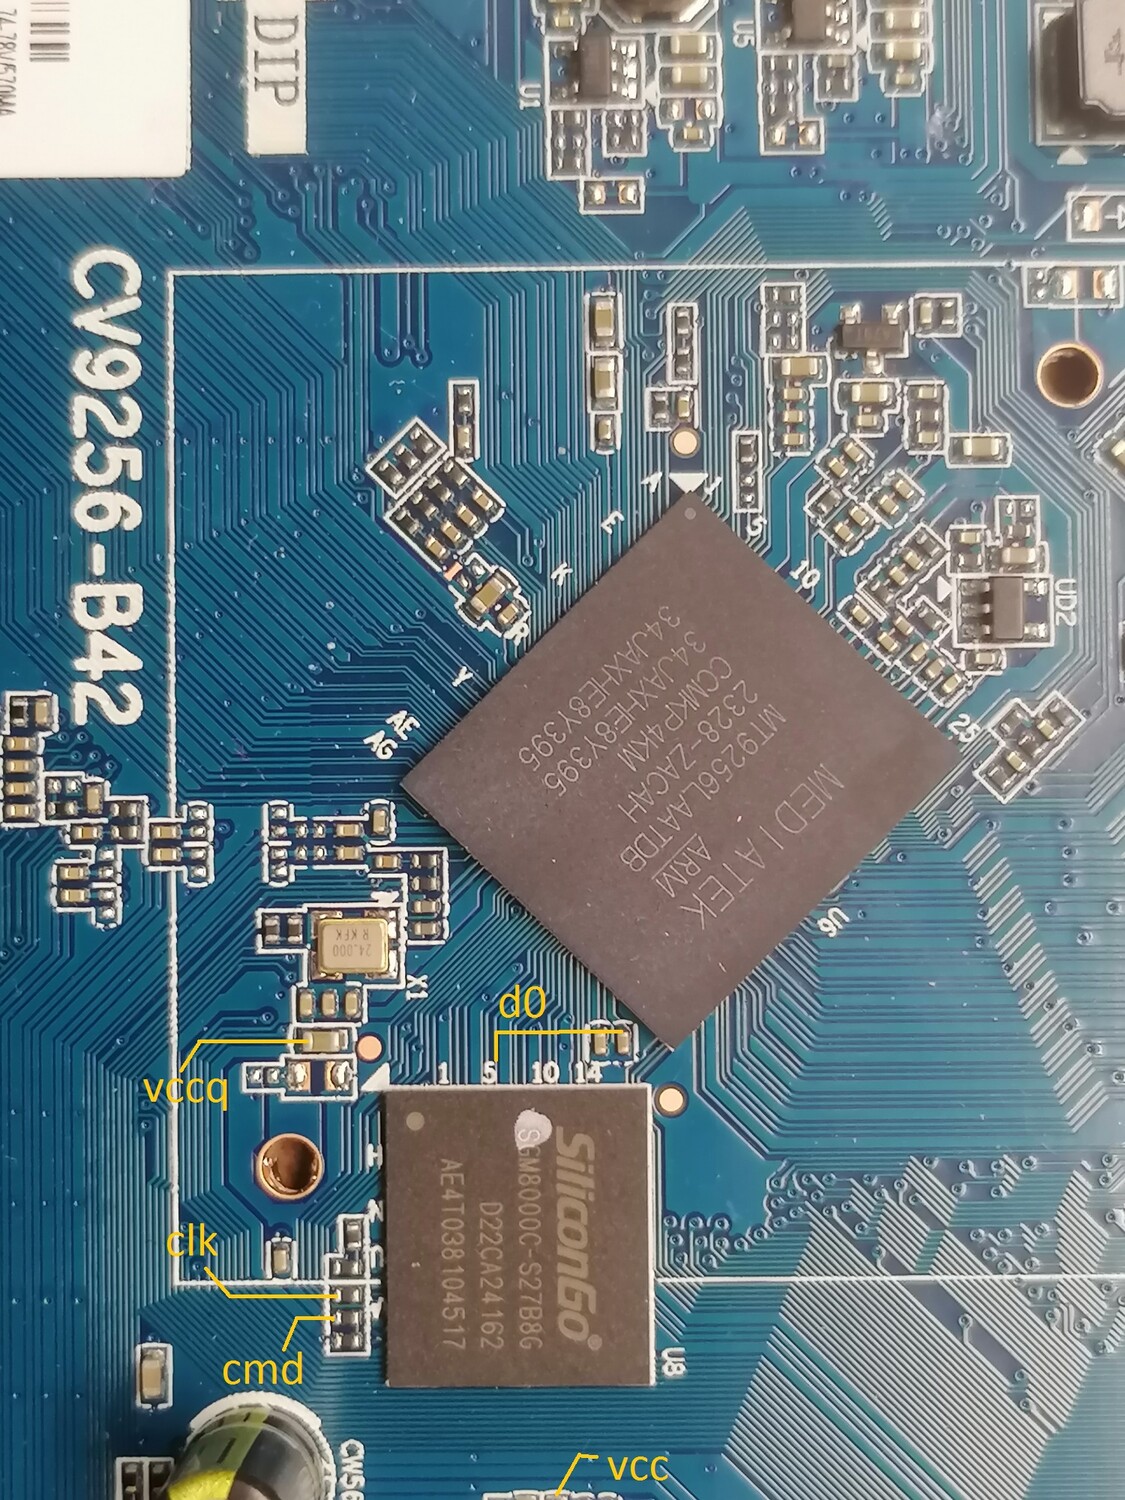
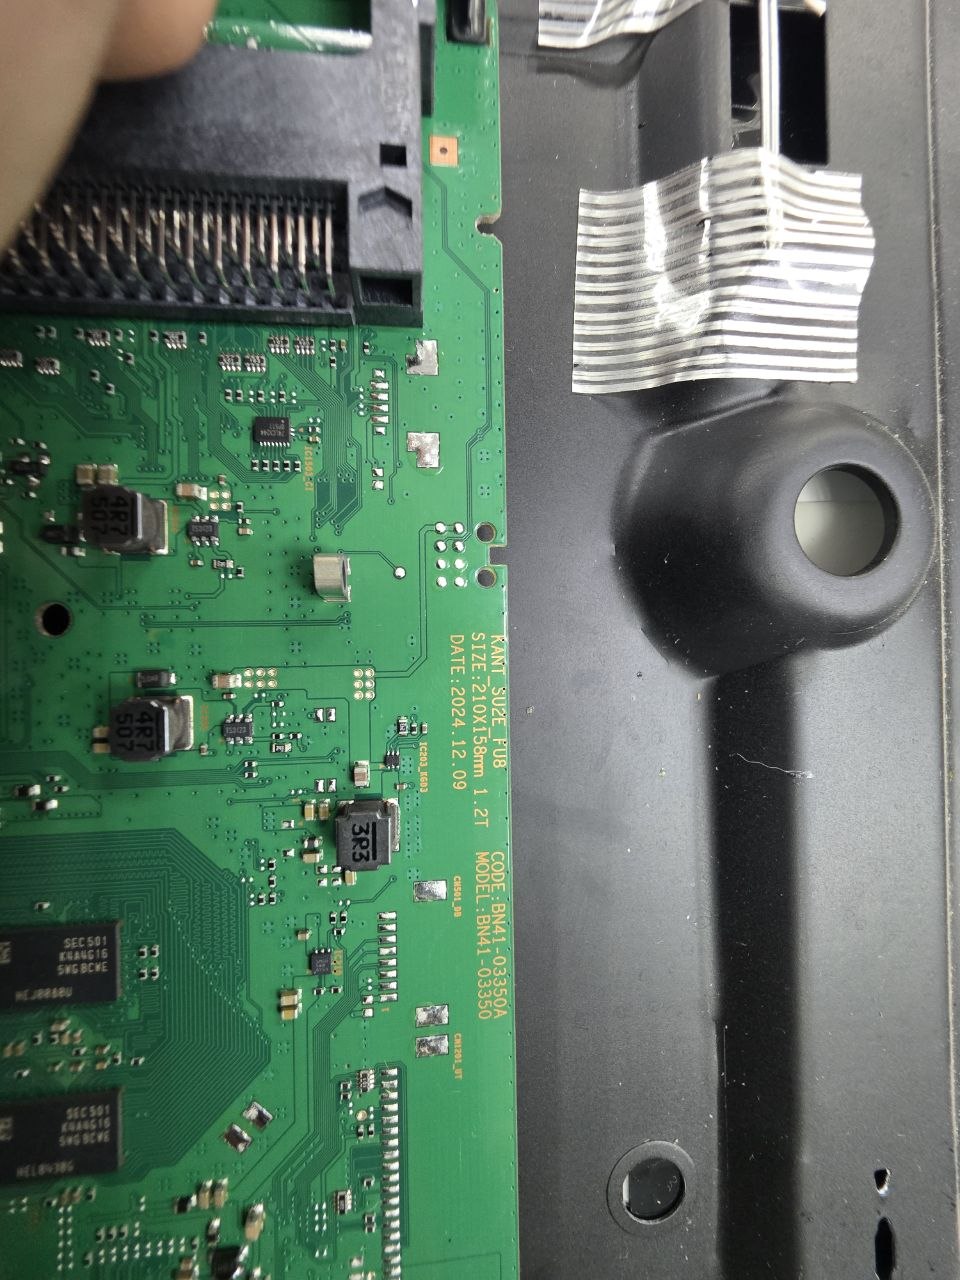
T1701-11K_LE-32D11_LSC320AN09_CV338H-A42
USB UPDATE
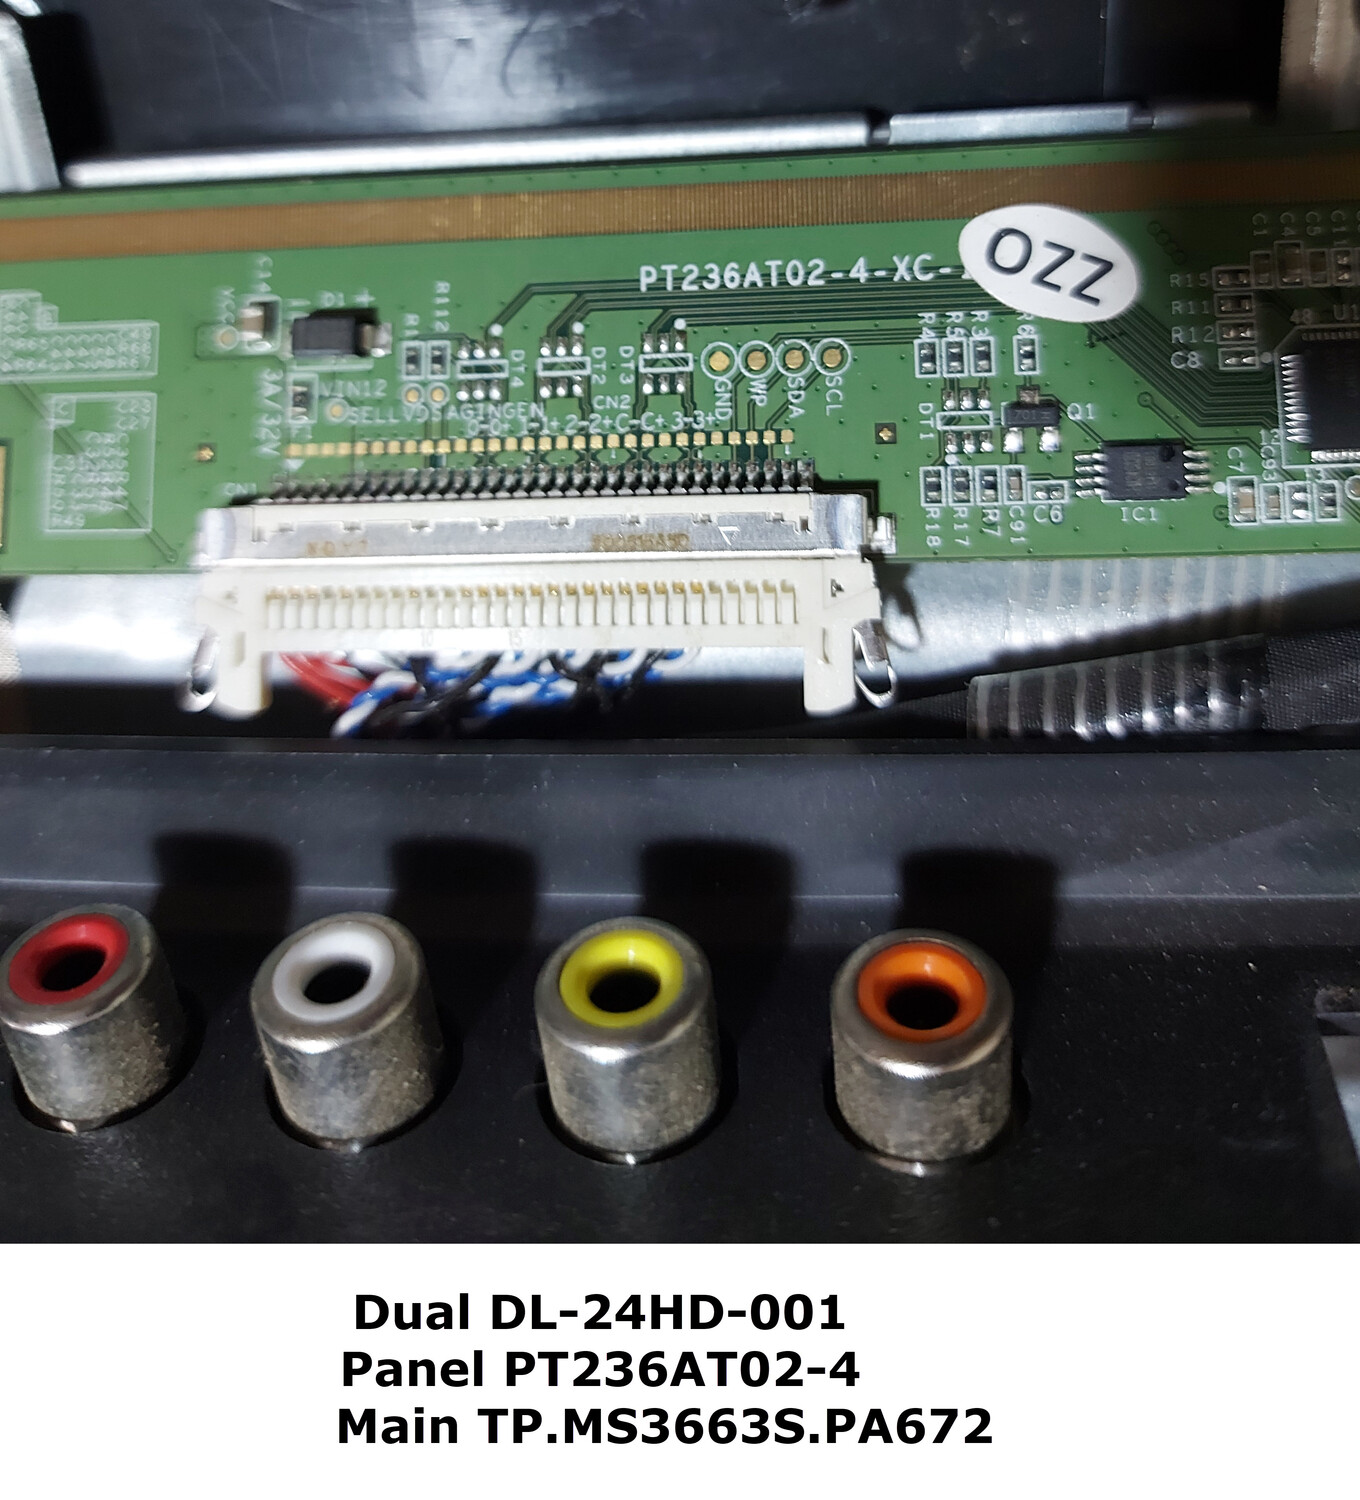
Dual DL-24HD-001
1
Дамп рабочий, лично проверенно. В архиве также файл прошивки мод LG матрицу вдруг кому пригодится
1
Тюнер на RafaelMicro, R842 - была дохлая.
1
100% рабочая, считана с рабочего аппарата
ECON EX-55US003B (V1B08) прошивка usb.
Считана в процессе ремонта Main. При подаче 12 вольт матрица переходит в автономный режим.
SKYWORTH 43TB7050
1
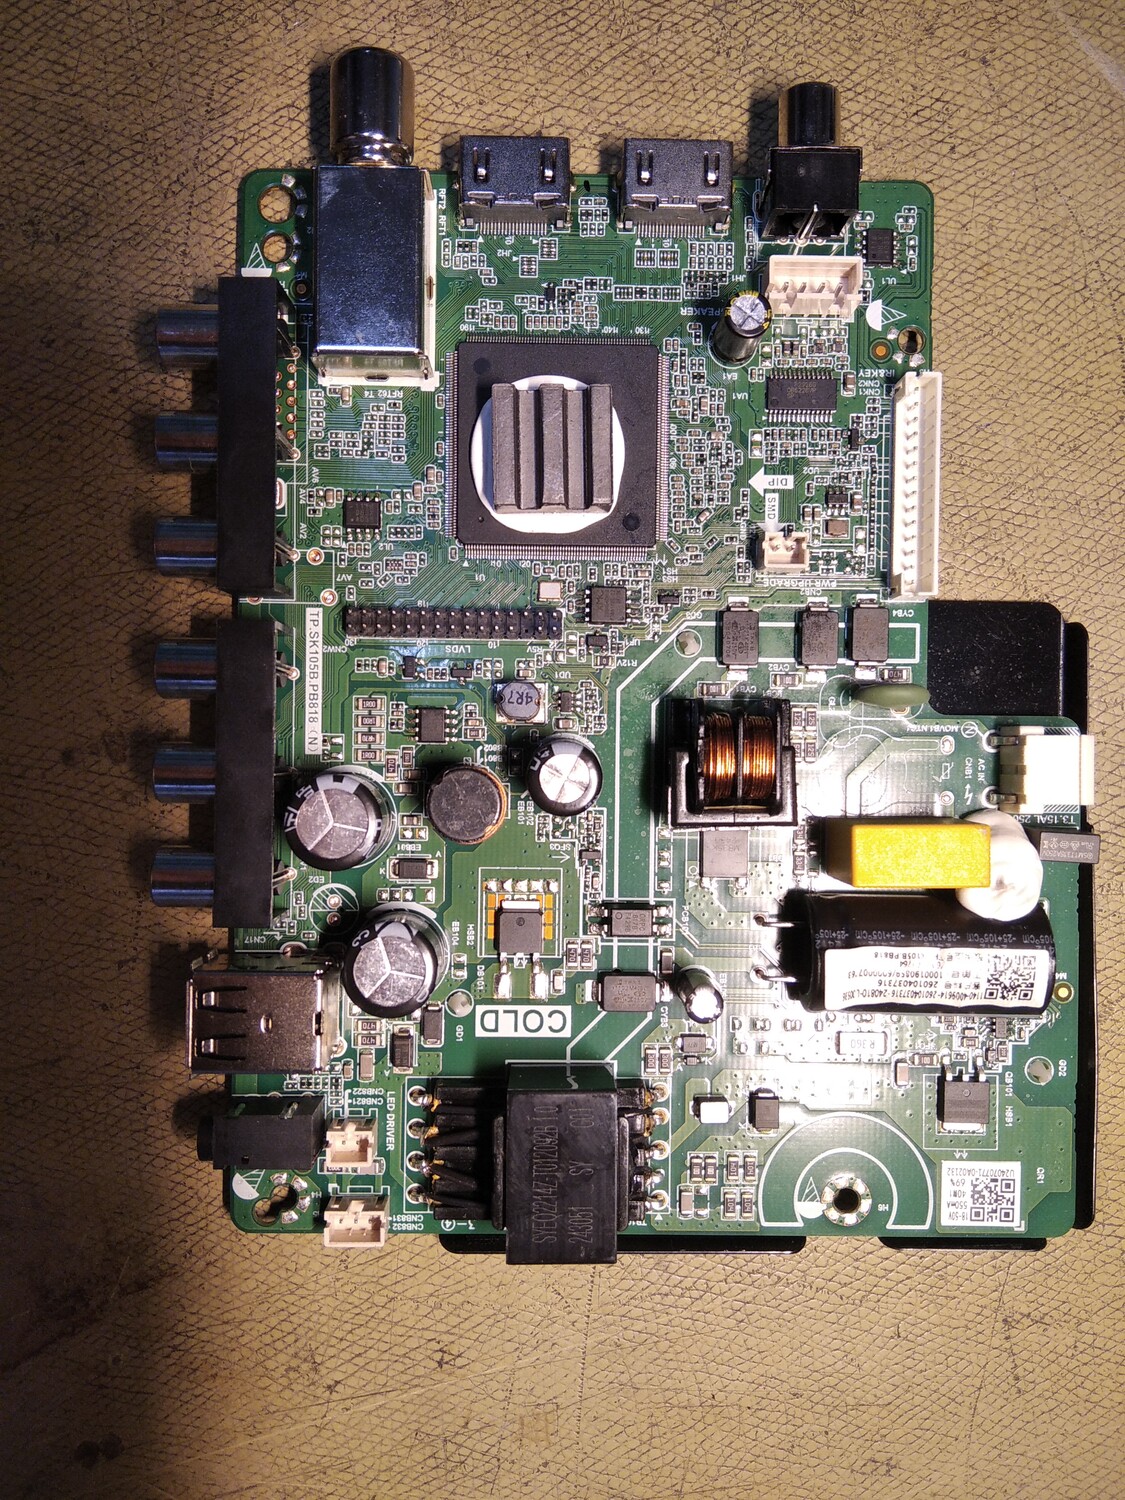
LIVA 43 PANEL FHD TP.MS338.PB802 ok tested
may day hoc TOUCH SCREEN RP8386C-V108R CPU MSD6A848 ok tested
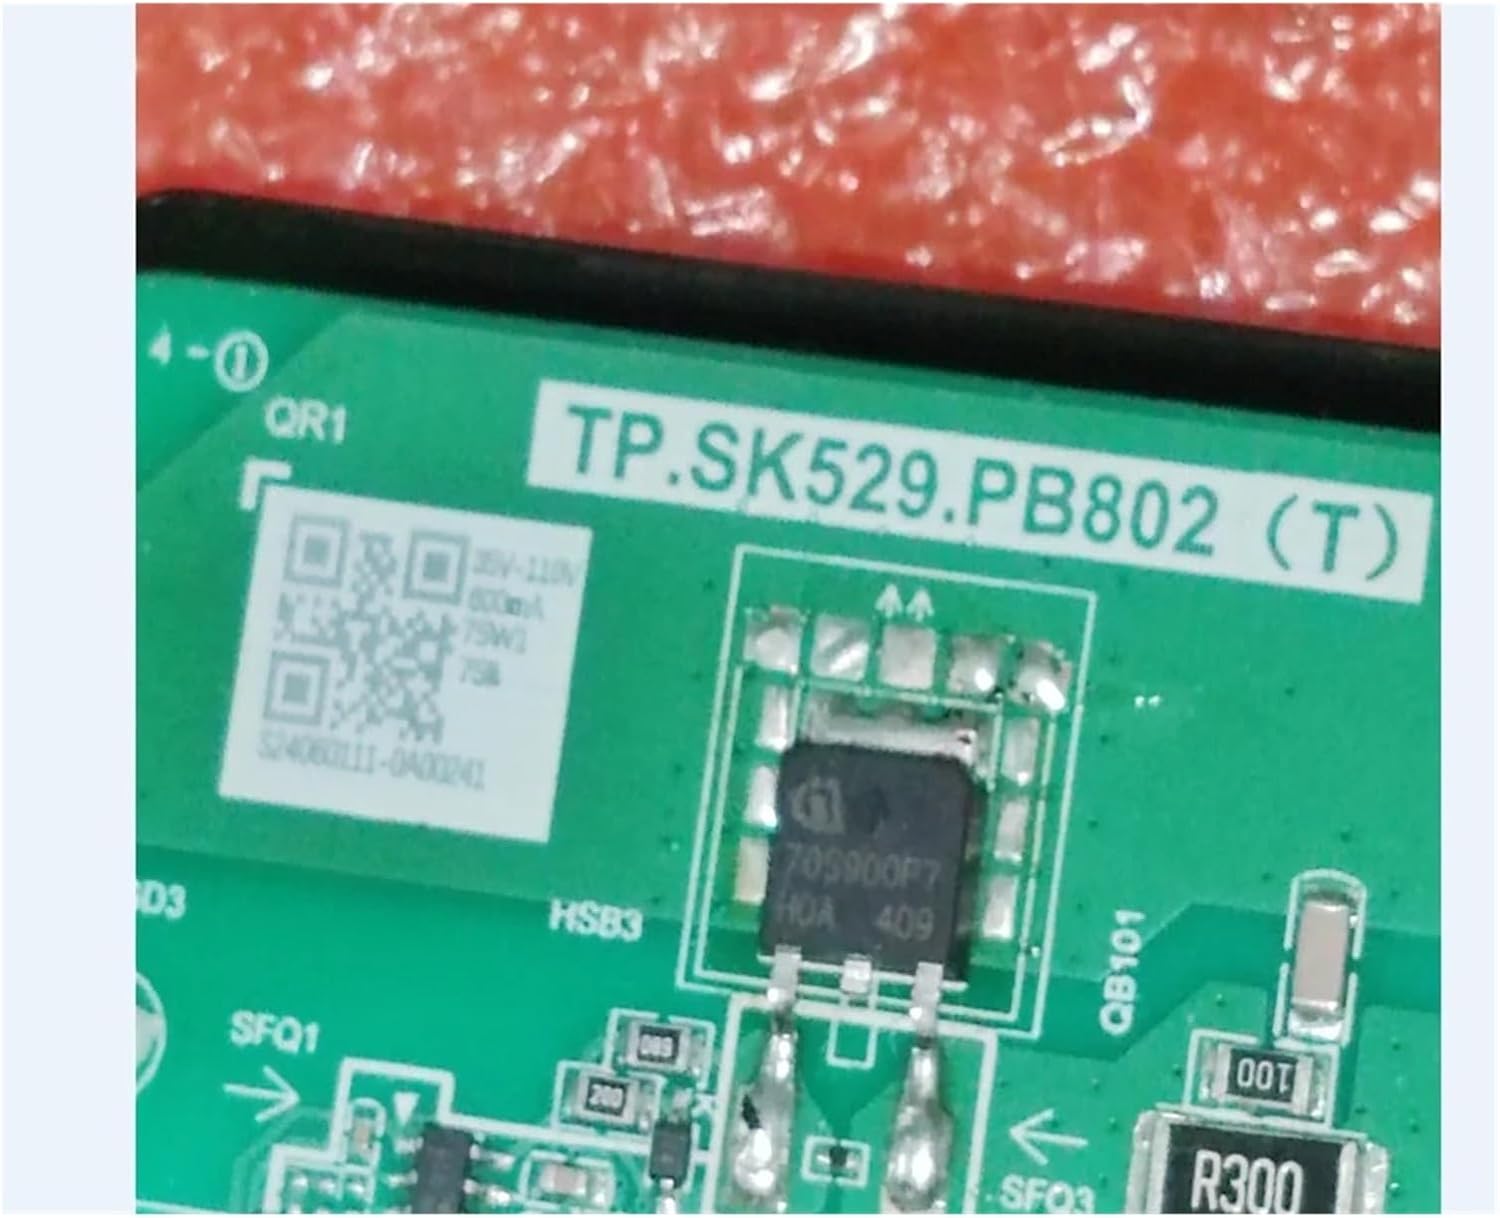
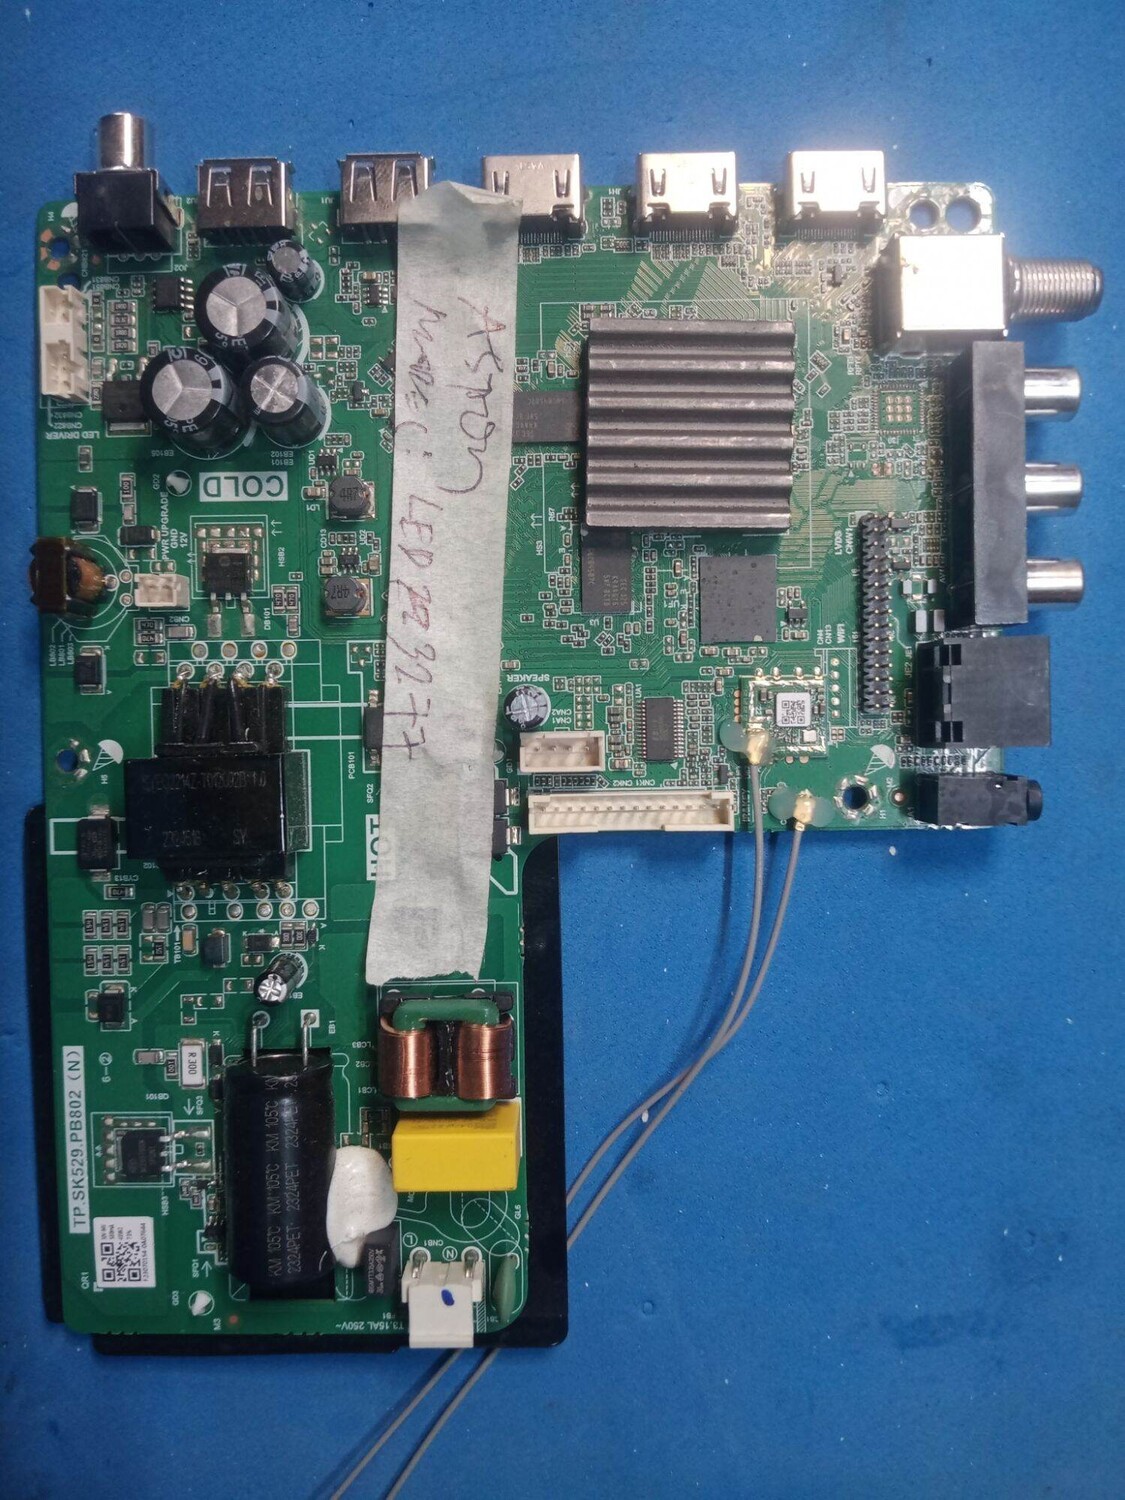
astron smart tv
1
считана после замены подсветки
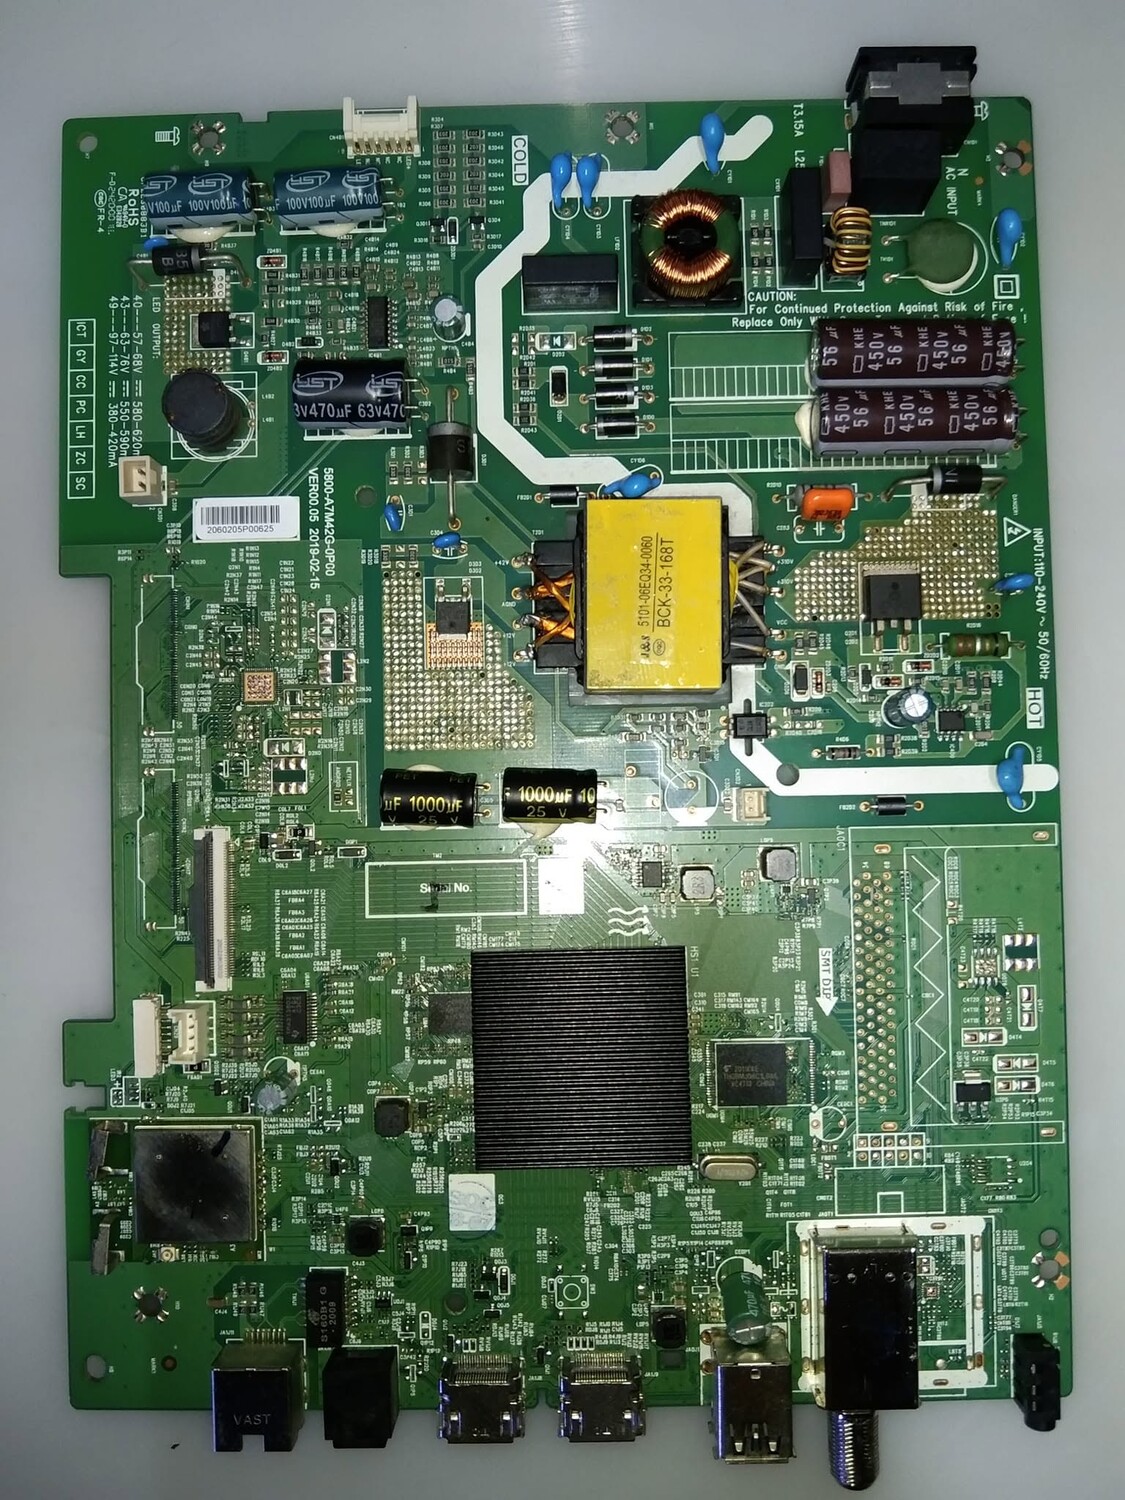
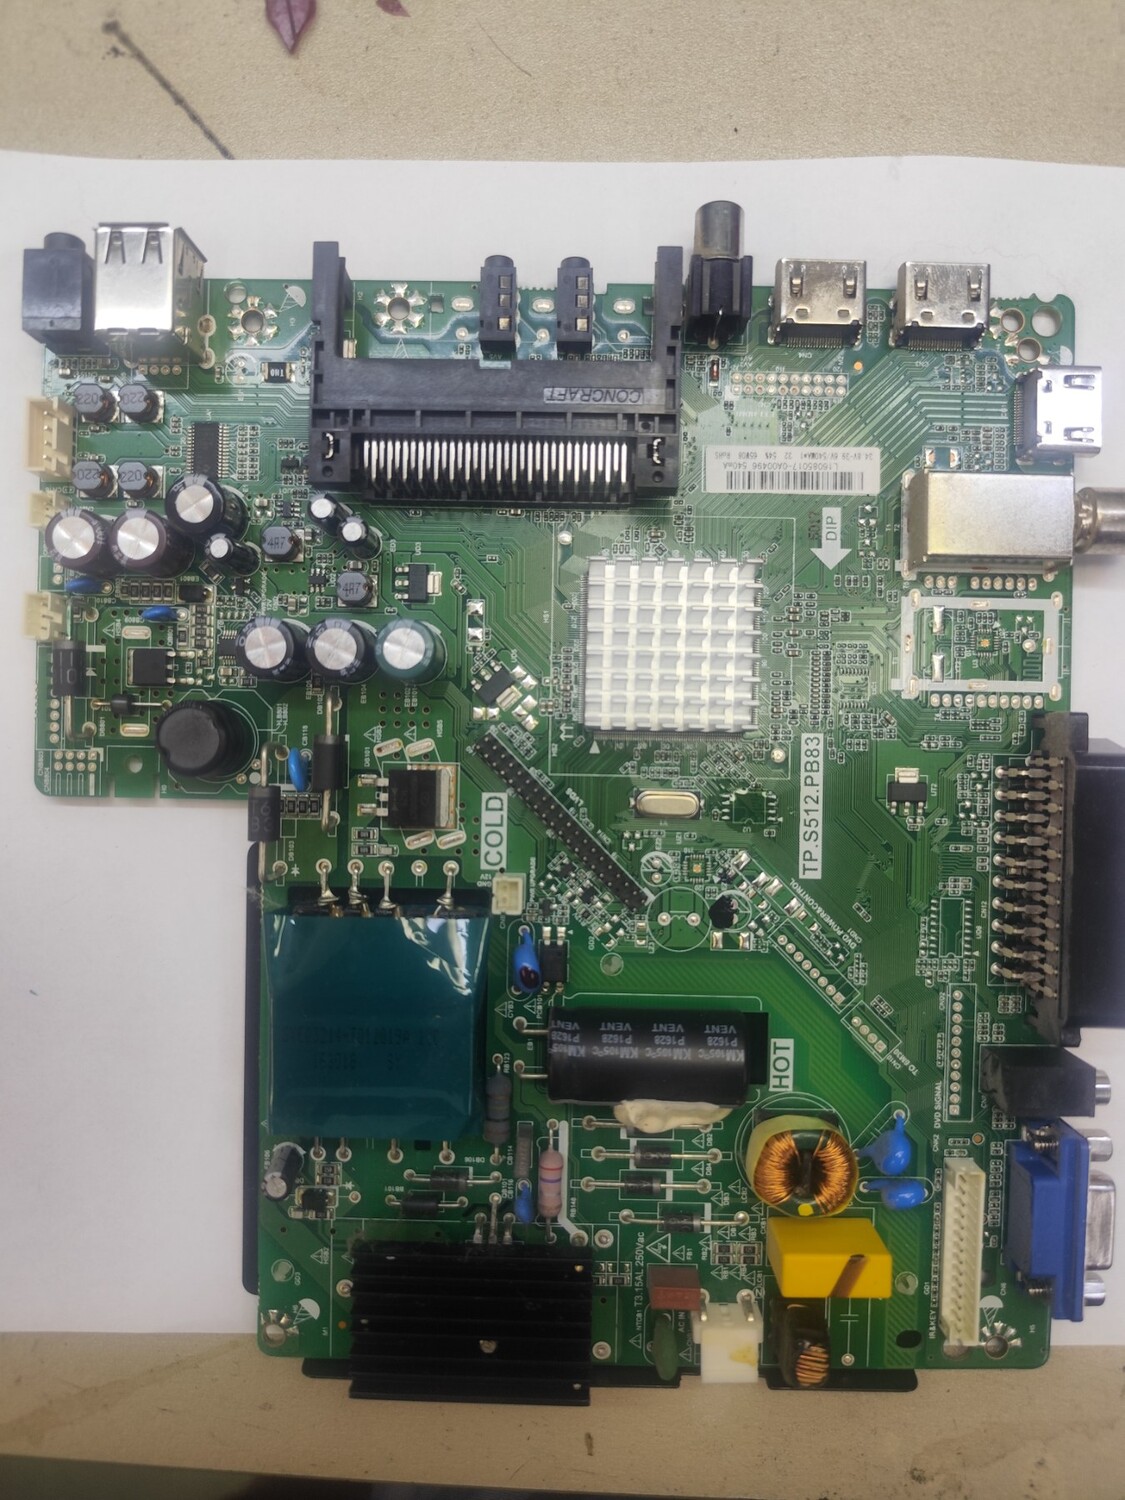
Mainboard: 17MB82S matrica: 10100160 23298807 74 40"
поступил в ремонт с дохлой подсветкой
1
прошивка T-con.
TELEFUNKEN TF-LED32S03T2S
1
STARWIND SW-LED58UG401
1
Слито с грозовой платы с мертвым процом. На замену была приобретена такая же с разбора - завелась, но после сброса не смог настроить смарт (телик отказывался подключаться к серверам Самсунг, через ВПН активировался только немецкий магазин, смены локализации в сервисном меню нет) Переставил весь комплект со старой платы и отдал ТВ.
Страницы: « 1 2 3 4 5 ... 1406 1407 »

 Файлы
Файлы Прошивки
 Продажа
 Литература
 Статьи